What I packed for Jamaica 🌴

I just got back from the Tryall Club in Jamaica and had the most amazing experience there! It was a much needed getaway from the island before things amp up for the summer, plus Neil and I went with really good friends - so it was a great time. It was super relaxing, and now I am officially ready for summer weather. 

Packing is one of the most stressful parts for me in getting ready for a vacation. I am definitely a planner and like to pack ahead of time to make sure I don’t forget anything. I can say I was definitely fully prepared for this trip! Here’s a look inside what I packed for Jamaica:

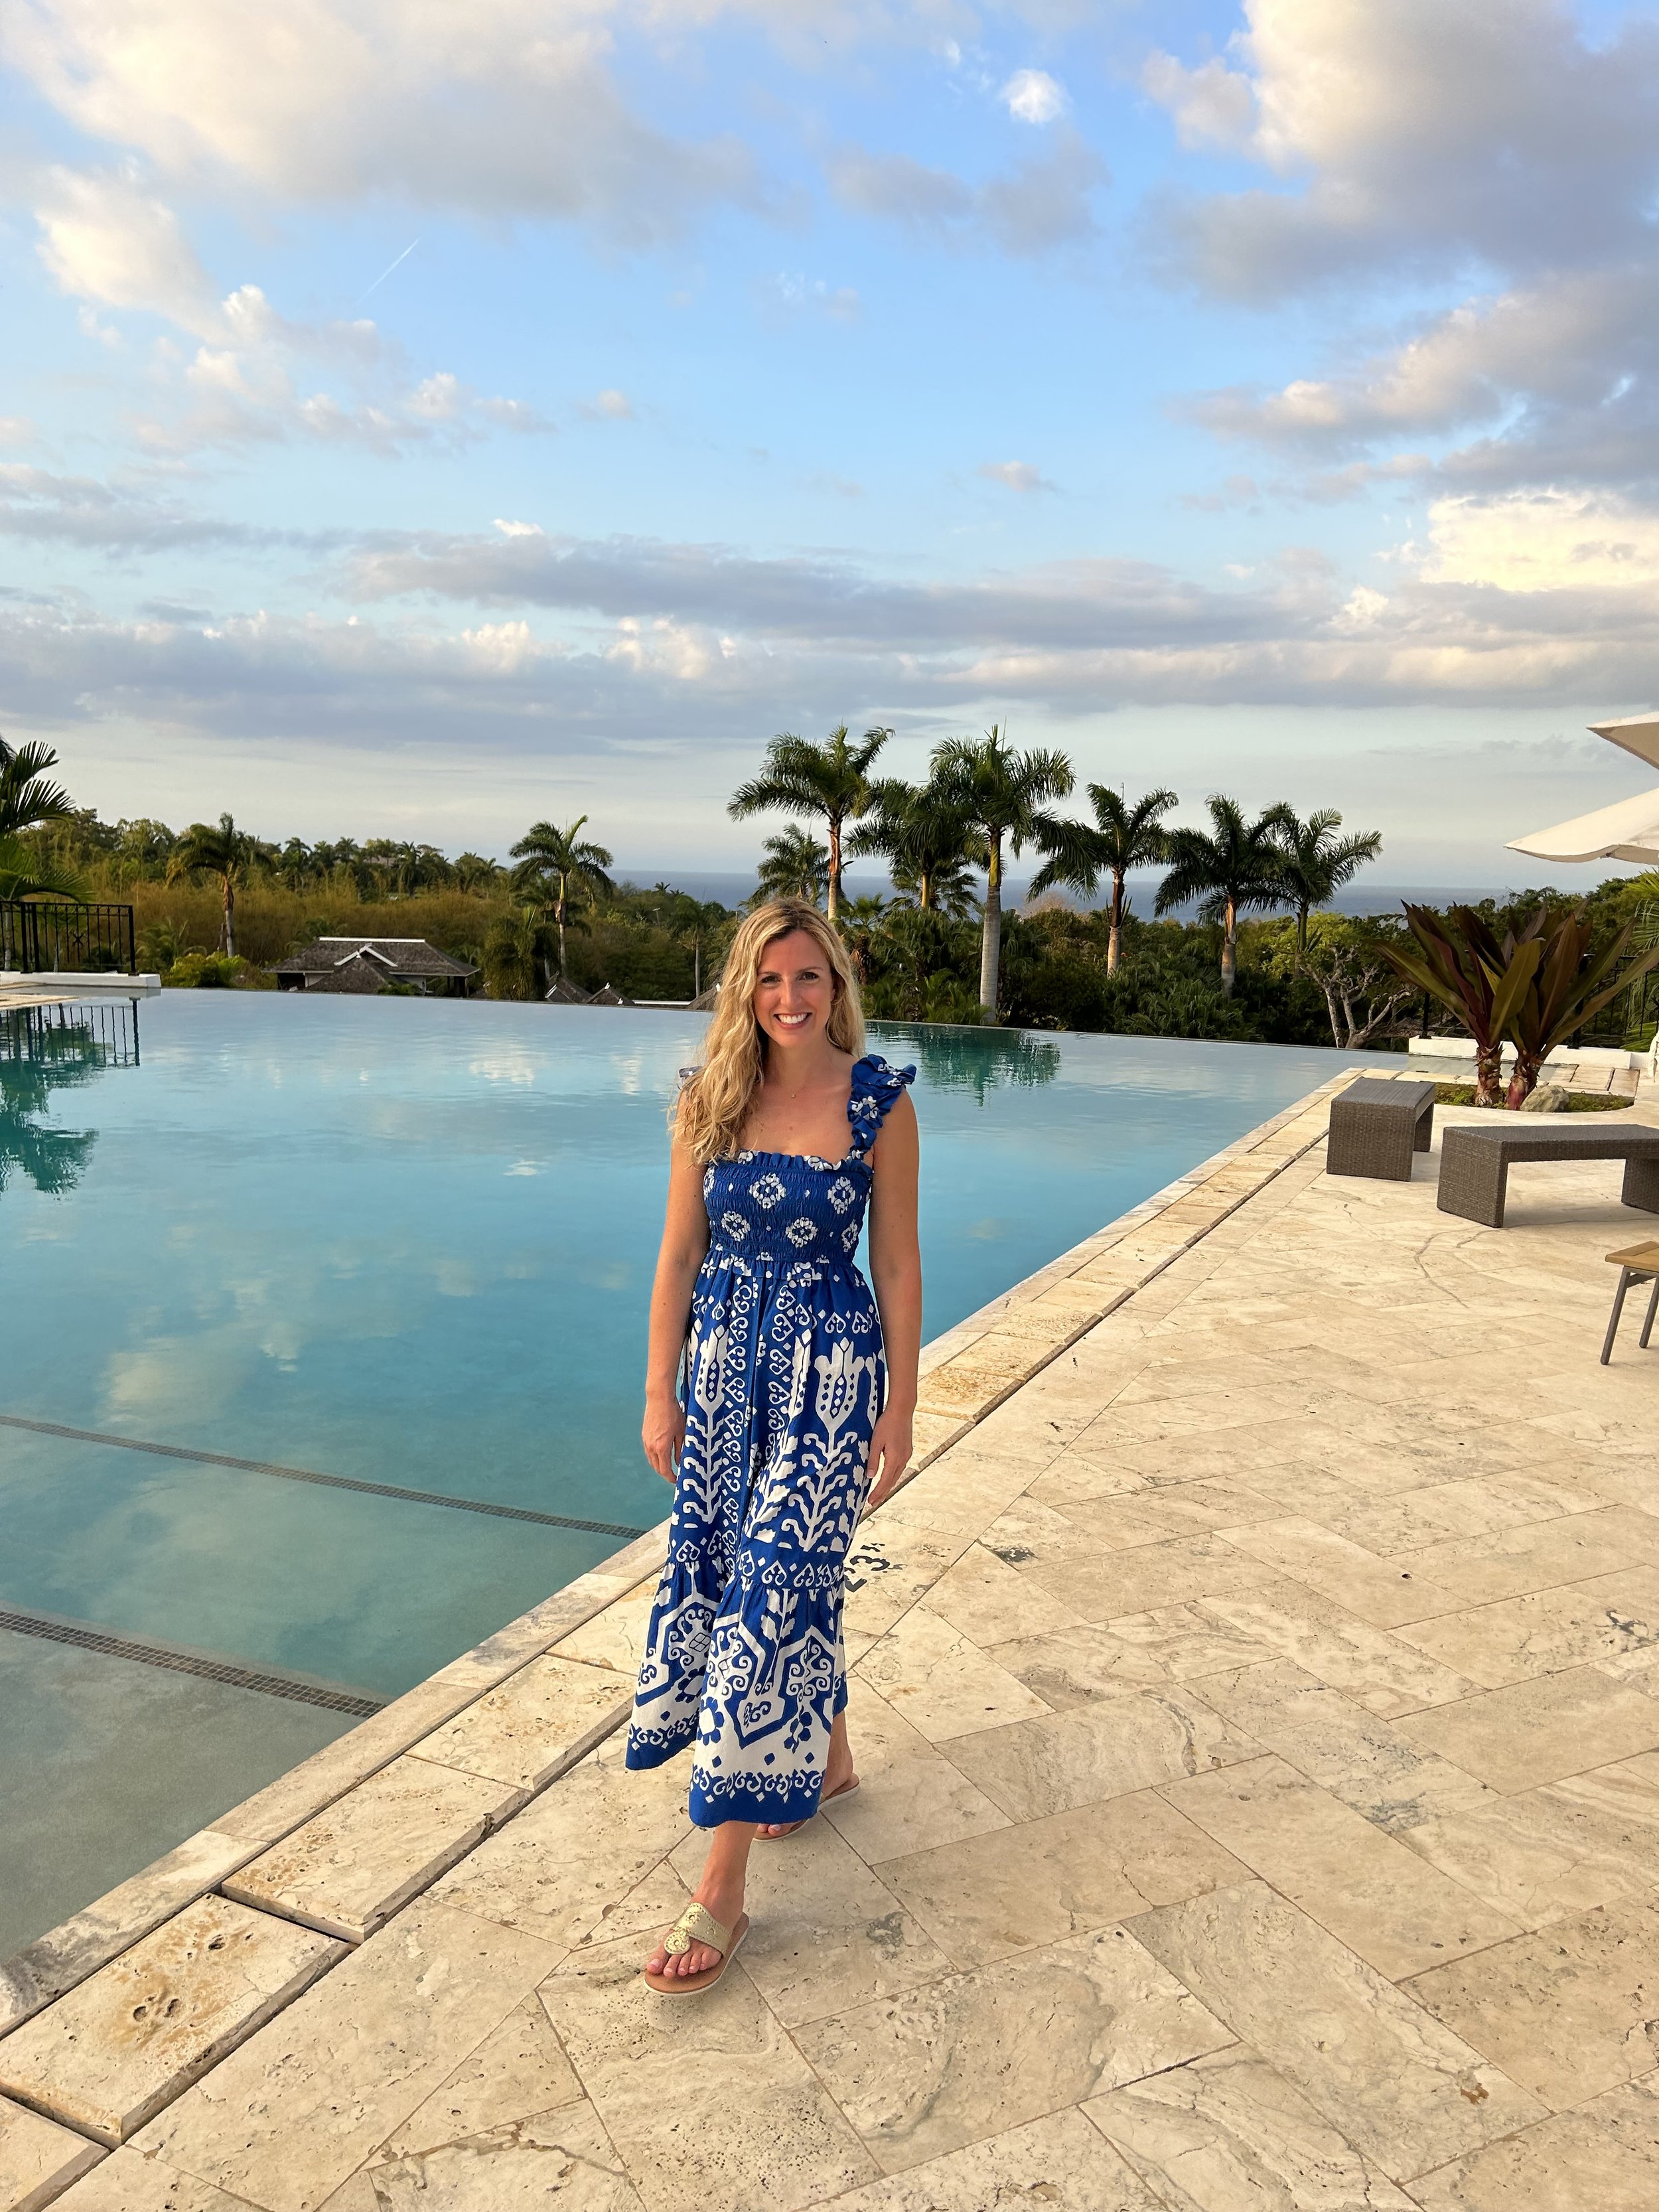
  1. This midi dress is perfect for a dinner at the resort or a day trip to town! The material is lightweight so it's perfect for a warm weather trip. I also love the ruched straps on the dress. It definitely adds fun detail along with the breezy pattern. 

  2. I am obsessed with this dress! It was perfect to throw on during the day post pool. It is super comfy and lightweight. I can also definitely see myself wearing it this summer shopping around town on Nantucket. 

  3. Of course, I had to bring my favorite bikini. I have the top and bottom in multiple colors. It is super flattering and comfortable. You also can’t beat the quality for the price. Highly recommend it! 

  4. I packed this cover up and I love it! It is a cotton-linen blend so naturally it is lightweight and perfect for the beach. 

  5. As you can tell by now, I love a good dress. This dress was a no brainer for me. I’m obsessed with the sleeves and the fact that this can be worn during the day for a shopping trip or for a nice dinner out. 

  6. This tote was perfect for the beach! It fits everything I need, and the color is neutral so it goes with anything. Oh! And it comes with a matching zip pouch, so you can put your sunscreen and lip balm in it and they won’t get lost in your bag. I also used it as my evening bag.

  7. You can never have too many day dresses. This dress is perfect for a Sunday morning brunch. It’s so comfortable and lightweight. I can’t wait until the weather warms up and I can wear this again! 

  8. As you probably guessed, I brought my camera with me so I could shoot around the island. This dress definitely came in handy for that (plus I played tennis in it!) I was so comfortable exploring and scoping out where I wanted to shoot.

  9. I wore this dress to dinner one night and it was such a hit! The floral print is beautiful and you can dress it up or down depending on where you’re headed. I’m even debating buying it in the other color because of how easy it was to wear.  

  10. Last but definitely not least on my packing list is sunscreen. I wear sunscreen 365 days a year so of course this was on my list for Jamaica. This is my favorite brand of sunscreen because it’s clean and feels amazing on my skin. 

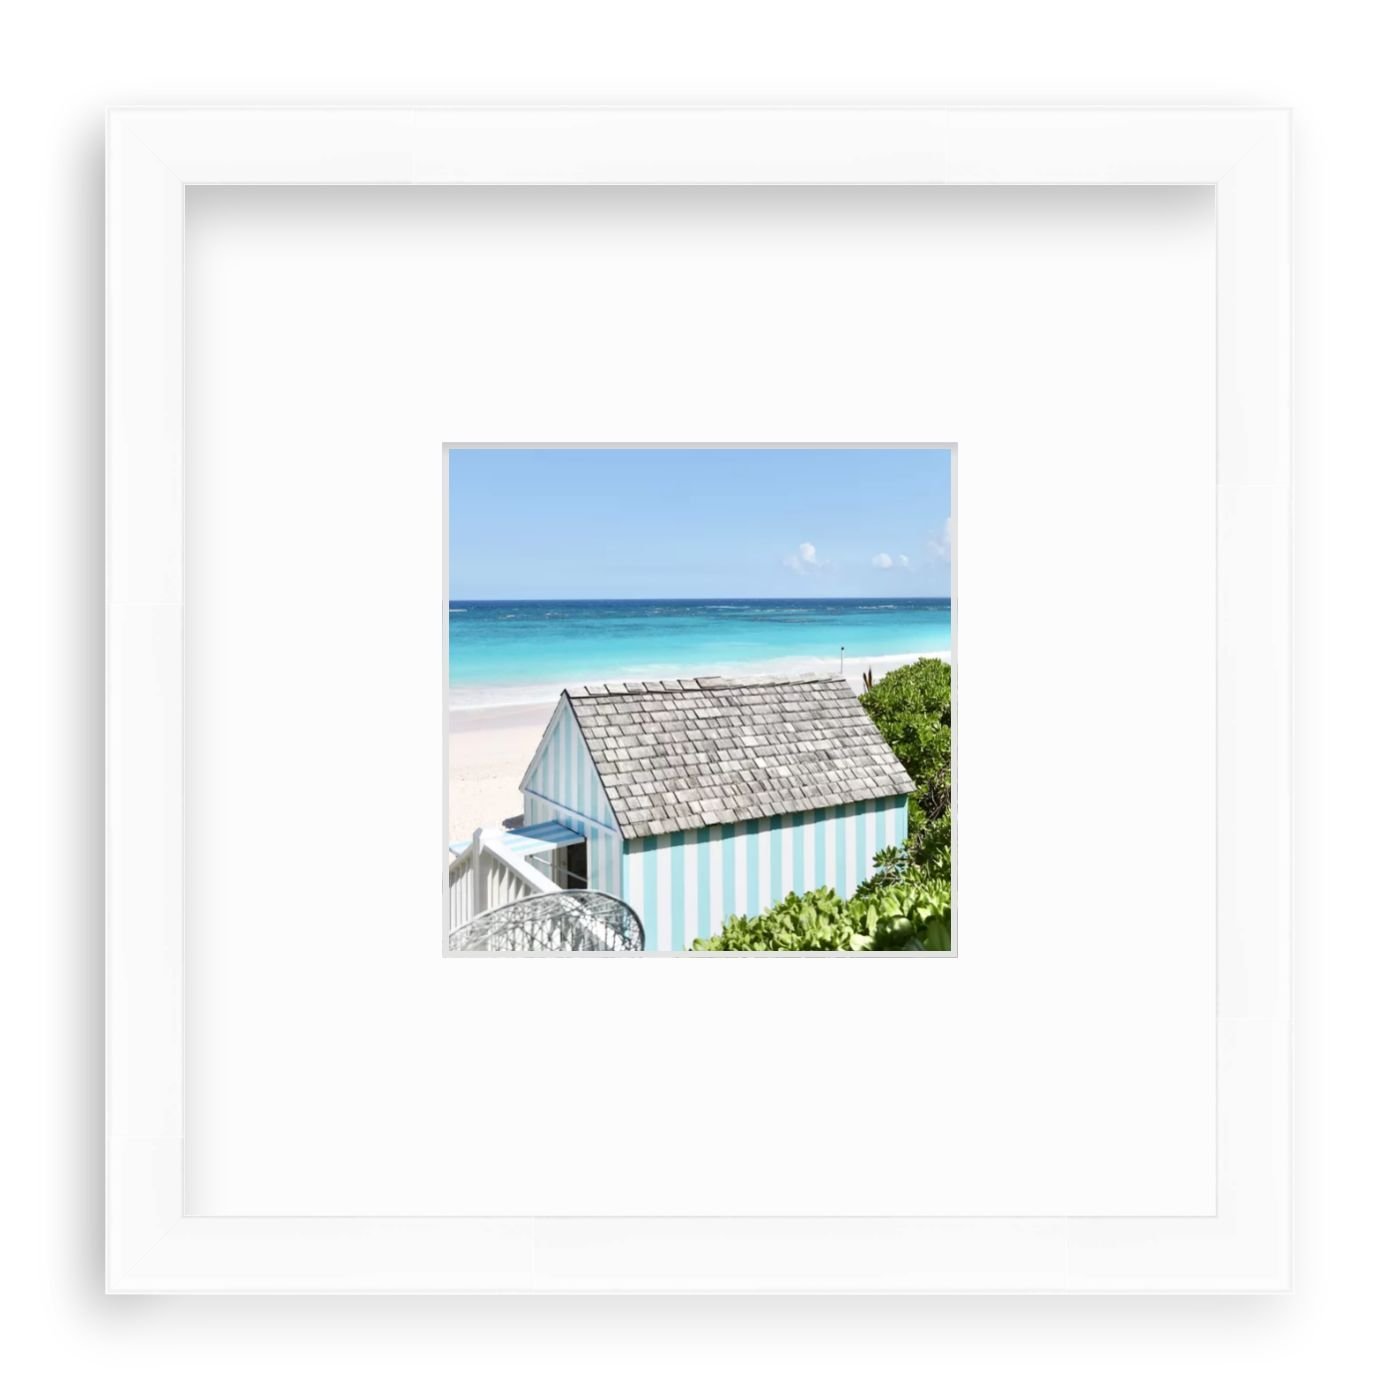
If you want a piece of Jamaica in your home, check out Wanderlust from my newest collection, “Palms & Fronds”. It comes as a shelfie, or larger sizes to fit any home! 

I can’t wait to see where next year’s trip takes us. Comment below if you have any recommendations!

What to pack for Nantucket? All of your Tuckernuck favorites, of course.

Did you know Tuckernuck got their name from a tiny island off of Nantucket called Tuckernuck? Tuckernuck is one of my favorite online shopping destinations for outfits, accessories and home decor. They truly have it all! 

When they started carrying my shelfies™, I couldn’t have been more excited! Their classic yet modern style aligns exactly with what I look for when it comes to shopping for clothes and home decor, so it was a dream come true getting to collaborate with them!  

Now for the fun part - I’ve decided to come up with a list of my 10 favorite items from Tuckernuck. It definitely was not easy choosing only 10 pieces, but I thought it would be best to start here and share with you 10 must-haves. 

  1. My favorite thing to shop for on Tuckernuck is dresses! I am a sucker for a midi dress and Tuckernuck has so many to offer and at various price points! I love this dress because you can easily dress it up or down depending on the occasion. You can pair it with heels to dress it up for a special occasion or pair it flats for a more casual night. The weather on Nantucket can get chilly, even at nights in the summer, so I love that this dress can be easily worn with a white jean jacket on a cool summer night. One last thing - this is Tuckernuck’s brand so it can only be found on Tuckernuck!

  2. Because the weather on Nantucket can be cool even in the summer, I always love having transitional sweaters that can be worn in different seasons. This sweater is definitely a go to piece for me. I love that it is lightweight and comes in both pink and white. I find that it’s super easy to style. You can wear it simply on its own with blue jeans or layer it with a button-down shirt. Another reason why I love this sweater is the price tag. It’s so hard to find affordable, yet high quality sweaters, but this sweater is both.  

  3. If you’ve ever visited Nantucket, you know that a pair of white jeans is a must! I’m obsessed with these jeans specifically. They’re high waisted and hit right at the ankle so they’re super flattering. They’re also so easy to style. You can wear almost any top with them and boom you’re ready to go! 

  4. Of course, if you’re coming to Nantucket during the summer you need a beach bag bag. I love an item that is versatile and that’s exactly what this bag is! You can bring it to the beach, to town or to dinner and it will fit the occasion. It fits everything you need and is of amazing quality. 

  5. Whenever I leave the island, I always love to take a piece of it with me. This necklace is the perfect way to do so. Nantucket is not only my home currently, but I grew up spending summers here, so it has a very special place in my heart. I love that this necklace is double sided and can be worn easily with any outfit. You can even layer it with another necklace! 

  6. I’m obsessed with this dress and cannot wait to wear it this summer! This dress screams Nantucket to me with the vibrant florals. It also has pockets which are always a plus. You can pair this dress with the Nantucket pendant mentioned above, as well as a pair of flats or heels to dress it up or down depending on the occasion and you’ll be ready to go for a summer night. 

  7. Speaking of flats, these are one of my favorite pairs of shoes for the summer. They’re a best seller on Tuckernuck for a reason. They come in both cognac and white. They’re super easy to slip on and pair with a sundress or jeans. I find myself wearing these multiple times a week in the summer because they look and feel great. 

  8. There’s something about a striped sweater on a cool summer night in Nantucket that just makes sense. This sweater is a transition piece and is playful, yet classic.  You can pair this sweater with white jeans, gold jewelry and you’re ready for a casual summer night. 

  9. Whenever I go to take photos on the beach, I love to be comfortable. So, if you’re like me, you love athleisure. These leggings are super cute and the gray and lilac combination is perfect for the spring and summer. You can wear these for a run on Milestone or just walking around town, either way you’ll look and feel great in them!

  10. Last but not least, my shelfie is a must for your home! It fits perfectly in any room, and you will always have a piece of Nantucket with you, even if you’re off island. Tuckernuck is featuring four of my shelfies so you can even get two or three for your home and place them together. They’re a great gift to give as well as they’re small enough that they can fit in any home! 

Like I said, it was so hard to narrow my choices down to only 10 of my favorites from Tuckernuck. There are so many more pieces that I love from Tuckernuck. Maybe I’ll do another blog post in the future, but for now I will leave you with these!

WELCOME TO OUR RENOVATION. THE FINALE.

“THE FINAL REVEAL! (THANK GOD I LIKE IT, BECAUSE I’M HUNKERED DOWN HERE.)”

It has literally been months since I promised the final reveal “next week”.  So much has changed in that time – it is staggering.  

Many, if not all of you, follow me for a glimpse into the natural beauty of Nantucket. Some of you hung around (and humored me) while I renovated our house. You put up with the polls, questions, and virtual melt downs over white paint – all of it. If you missed any of that, it is saved in my Instagram story highlights (parts one and two).

And up until the “shelter in place” order, I was also interjecting a family member’s renovation into my normal Nantucket/home decor content. Construction on Nantucket is currently on pause – but once that can safely resume, I can’t wait to show you that project, too! (Also saved in my story highlights).

Since promising you the final reveal, our “love-you-like-our-first-born-child” dachshund passed away, and I completely lost my creative mojo. (She would have LOVED us being quarantined in the house non-stop with her.) Once covid-19 hit, I started writing again (because we can’t puzzle all day, every day).

Fast forward almost a month aaaaand here we are. 

I’d be remiss if I didn’t say a final “thank you” to Julius Pasys and his crew at LithCon Inc., as well as Matthew MacEachern and his team at Emeritus. I’ve been in our home all day, every day since March 22nd and I STILL LIKE IT! 

(I’ve also planned the master bathroom renovation in my head about 100 times after deciding our shower is impossible to keep clean. I think I’ve destroyed the grout, so Neil has that to look forward to in addition to being able to leave the house. Lucky guy!)

So, what did I learn from my first renovation?

·       Get a really good referral for your builder + architect.

·       Be upfront about your budget so no one has unrealistic expectations about project scope.

·       Be prepared to make decisions in a timely manner.

·       Do not order your furniture and kitchen appliances too early. Being excited is not an excuse.

·       Trust the process (a/k/a a renovation is like watching sausage get made.)

·       A water/coffee/lunch delivery may make up for being *slightly* hyper-focused on, well….everything (jury is still out though).

·       Prioritize the big picture.

Without further delay – welcome to our home: 

(photos by Tom Olcott | courtesy of architect Emeritus | built by Julius Pasys


WELCOME TO OUR RENOVATION. PART FOUR.

KITCHEN CABINETS, V-GROOVE, AND GLASS WALLS - OH MY!

PART FOUR.

With the white paint decision behind me (read about that rabbit hole here) – things really started to take shape in the house, specifically the kitchen and the addition.

The second half of May was all about the kitchen cabinets – install time!

I went into this project with little to no knowledge about renovations and kitchen designs, so I wasn’t sure if it would be our architect, Matthew MacEachern of Emeritus, doing the kitchen design for us, or someone who only does kitchens.

Turns out – in our case, it was neither. Our builder, Julius Pasys of LithCon Inc., designed our kitchen for us. As I mentioned in the first post in this series, I can’t believe how much work goes into a kitchen even before demolition.

Our architect had a vision for the kitchen as it related to the house as a whole; I had a vision for the kitchen, which I gallantly shared via chicken scratch drawings and Instagram screenshots; and Neil had a vision for our kitchen (it needed to work, with minimal plumbing changes because $$). Ultimately, our builder was in charge of executing the design – so I think it was very helpful to have him so involved with the design portion.

We used a company called Barker Cabinets, based in Portland, Oregon. Their cabinets are fully-customizable and all components are made in America. They arrive in pieces and are assembled on site. (Though you have the option to have them pre-finished, we went with unfinished cabinets and had them painted on Nantucket).

One day in May, I stopped in to check things out (I’m still unsure if my surprise visits were welcome, or annoying) and I walked into music playing, excellent singing, and the bones of our kitchen!

Because there had been Good Will Hunting sketches in lieu of a CAD file, this was the first time I had seen the kitchen in 3D and it looked so gooooood.

Then came the kitchen island. I unequivocally wanted legs on the island and at least three chairs. During the chicken scratch / Instagram screen shot phase, I should have stressed just how much I wanted legs on the kitchen island, because we probably could have made the entire island a little bit bigger at that time. The problem was, at this stage, and at its current size – it wouldn’t fit three chairs comfortably if we added two legs.

I’ve decided a lot of the cool designs you see out there are born out of necessity (and yes, I just called my kitchen island design cool).  

After a lot of back and forth, we added a third leg to the island, creating a larger surface area for the countertop. This meant one of the original legs could come out a bit further, so that three chairs could fit comfortably between the original, two legs. I understand this paragraph makes NO sense. Please see photo below.

My advice about seemingly minor design details (a/k/a kitchen island legs)? If they are important to you, make sure to highlight them in the very beginning because no one is a mind reader. In the end, I like that my island is a little quirky and that it represents out-of-the-box thinking - and I got my legs.

Once everything was assembled, and I decided on Statuario Maximus (honed) by Caesarstone with a full slab backslash, it was time for the counters to be templated. The counters themselves are beautiful, and I’m happy with my decision to use a honed finish. Honed counters are a little “needier” than regular quartz counters in terms of maintenance, but they have an old-world look to them that I love.

If you’ve read between the lines of my countertop zingers, or hung in there with me in real life while I compared Steamship ferry waitlist reports to ETA texts from the countertop guy, you know that this was the only part of the renovation that wasn’t fun. During the approximate six-week delay, thousands spent on takeout, and 10 lbs gained from eating takeout for three meals a day every day, I learned that Neil has the patience of a saint. So this is basically a love story. And I should probably pivot and write a take-out guide… 

But, like I said: if you don’t have one hiccup, did you even really renovate?

Here’s one sneak peek of the finished kitchen. (Photo credit Tom Olcott, courtesy of Emeritus.) And I almost forgot: The cabinets are Revere Pewter by Benjamin Moore (lightened by 20%) and the island is Wrought Iron by Benjamin Moore. (Major thanks to All Sorts Of for sharing this color combo!)

Now, on the other side of the house – gorgeous things were happening. Vertical v-groove was installed along the walls of the addition – and I decided which print I was going to hang in that room. The v-groove also went on our ceiling, as well as beautiful oak beams from East Wood Trading Company – and, one of my favorite details in the entire house – and one I knew I wanted from the beginning – was installed: the glass wall and sliding glass door. This piece, separating our living room from our new dining room, was the brainchild of our builder, Julius Pasys, and Simon from Surfside Glass (and the engineer at Emeritus to ensure the house would stay up!)

I’m originally from New York City, so this is a little bit of NYC in Nantucket. Progress shots below. More photos to follow in the final reveal.

WELCOME TO OUR RENOVATION. PART THREE.

ALL WHITE PAINT LOOKS THE SAME AND OTHER LIES YOUR FRIENDS TELL YOU TO KEEP YOU SANE.

PART THREE.

To catch you up since the last post, we are now in April and our house is weather tight (thank goodness because April showers and all) – and the wall between our original house and the addition had been knocked down. That’s called burying the lead. Guys, the wall was gone! There were big plans for that space, and I’ll get to that in the next post.

The exterior shingling brought out the contrast I wanted with our black Andersen windows, which are a prominent feature of the design Matthew MacEachern of Emeritus did for us. When the windows were first installed, they blended in with the black under-shingle paper (that is the super official name for it in case you were wondering), but once the white cedar shingles went up – the windows really popped.

Moving inside and upstairs: the flooring went in faster than I could have imagined, and before I got to see it, it was covered in protective paper. It was two months before I got to see those floors (but who’s counting?) I’m not still smarting from that or anything. Did I mention Neil got to see them, and I didn’t?


Downstairs, a lot of prep work was happening for the kitchen: electrical, plumbing, drywall, and plasterwork. I was busy picking kitchen cabinet hardware because I thought the house was going to be finished early (insert taped audience laughter), and I wanted to be prepared.

May rolled around, and it seemed like all of the work done in April was giving way to the good stuff. The interior trim went up around the windows, and it is one of my favorite details in the house. Apparently it wasn’t overly complicated to make – but it was exactly what I wanted. (Photo to follow once I reveal the paint job).

Also, our ugly, metal, baseboard heaters got a facelift. Our builder, Julius Pasys of LithCon Inc., designed and fabricated covers for them, and they look SO good. I was inundated with questions about them when I shared a photo of them on Instagram stories. I’m surprised this “design challenge” isn’t talked about more frequently. We’ve all been suffering in silence – until now!

Now comes the most controversial part of any good story: white paint. I read alllll of the white paint guides out there, including ones by All Sorts Of and Studio McGee. I figured if I could pick red wine for Neil based on the descriptions taped to the wine rack, I could pick paint that way, too.

Wrong. The blogs were supremely helpful for narrowing down my choices, but there is a reason each white paint guide ends with suggesting you try out samples in your own home.

My next step was to purchase samples from Samplize. If you haven’t heard of the company, its product is pretty cool: peel & stick, 12x12 paint samples made with real paint on one side and a repositionable adhesive backing on the other side. This allows you to stick the squares on multiple walls and in various lighting situations.

Quick aside for everyone who asked about kitchen cabinet paint colors. I’ll delve into that later. Maybe when I talk about the countertops – aka much later in this story. (I’m cracking myself up.)

Ok, back to white paint. On some of our walls, I loved Simply White by Benjamin Moore. And on other walls, I was drawn to Super White. Then I went to a house to deliver some framed pieces, and I noticed the paint in the client’s house. The white was perfect!

The client tracked down the paint color (totally normal of me to ask him, right?) and it was Benjamin Moore White OC-151. I told our builder I had made up my mind, but he suggested I pick up a sample pot at Marine Home Center so he could paint a few patches on our walls for me to look at. This was like feeding the beast! Wouldn’t everyone around me be happier if this white paint saga ended?

All I can say is, thank goodness we sampled. I had never seen OC-151 in my house (it wasn’t one of the colors I ordered from Samplize) and for reasons I can’t explain – it read totally grey on my walls.

Chantilly Lace was on my radar thanks to all of you - I received a lot of notes on Instagram that said things like “the only white paint I ever use is Chantilly Lace.”

Finally, our builder had his painter take me to a completed house to see a few more white paint examples, which included Chantilly Lace. (My white paint deep dive was getting to everyone. I had been foisted à la Curb Your Enthusiasm.)

So, I went back to Marine and picked up more sample pots, including Chantilly Lace, Simply White and Super White.

For the amount of pressure I felt to pick “the right” white paint, this feels really anticlimactic, but – drum roll, please – we went with Chantilly Lace by Benjamin Moore!  And – if I had picked the white paint based on the description (like I pick red wines), I also would have picked it. “As delicate and refined as the lace it was named after, this crisp, clean white evokes images of pure silk, soft linen and simpler times.”

Next post: Kitchen cabinets, v-groove, and glass walls – oh my!

WELCOME TO OUR RENOVATION. PART TWO.

A RENOVATION IS LIKE WATCHING SAUSAGE GET MADE.

PART TWO

Welcome back. We left off last week with some packing tips (take full advantage of the construction dumpster).

For reference, it is late January, and we were living amongst plastic bins filled with all of our possessions. I packed us each a suitcase (I’m a control freak), which I unpacked for a sense of normalcy (still a control freak). Over the course of the next four months, we barely even reached into the plastic bins for other stuff.

You may be asking yourself “they wore the same clothes in May as they did in January?” And I would ask you,  “have you ever experienced spring on Nantucket?”

Also, we mayyyyy have moved back home a month earlier than we originally told our builder, Julius Pasys, owner of LithConInc., that we would need to (#DreamClients). So there’s also that.

February was a transformative (read: messy) month. A friend warned me, “A renovation is like watching sausage get made”. At the time, I had no idea what he meant. Now I do.


During February, the kitchen was demolished, our old pine floors were removed, new closets were framed, some of the new windows and doors were installed, excavation and foundation work was done for the addition, and – the addition was framed.  When I saw the addition framed, I knew our architect, Matthew MacEachern of Emeritus, had nailed the design. Visits to the house in February involved a lot of  “oooh, ahhh, no turning back now” comments. (Follow Emeritus on Instagram here).

Thank you to everyone who purchased art in February, because I had literally and figuratively taken a sledgehammer to our biggest asset – and that was panic attack inducing.

It rained a lot in February and early March, and I was worried about our addition “getting wet” before it was weather tight. I learned how important the AdvanTech subfloor system is, why it could be exposed to the elements, and how it would ensure we wouldn’t have squeaky floors down the line. Kate Rumson of @the_real_houses_of_ig is using it in her new build, and shares a ton of details about it if you want to know more.  Neil has stopped reading. Don’t be Neil.

By mid-March, you could stand inside our addition and get a real sense of what it was going to be like in a few months. (The rest of the house? Sausage mid-stuff. The flooring for our entire house was stacked in the guest room, the walls and ceiling were being plastered to remove the “texture”, and by the very end of the month – all kitchen cabinet materials had arrived).

Despite the organized chaos, I was surprised by how much I enjoyed the construction process. Sure, I spiraled a few times (white paint decisions anyone?!) but everything was relatively on time and on budget (anyone who has ever renovated is calling BS right now.)

Every time we stopped by the house, something new had been done. I know some of you would disagree – but I found the renovation process checked that “instant gratification” box. There was very little of that “two steps forward, one step back” dance.

By the end of March, the Andersen windows were installed in the addition, and the wall between the original house and the addition was knocked down. When Neil and I visited and saw that for the first time, my jaw dropped, and Neil smiled. Neil won’t admit this – but I saw it. And captured it with a photo.

April showers bring May flowers, and much is the same for the work done to the house in April. I’ll leave you with that questionable analogy until next time. Check back soon.

Next post: All white paint look the same and other lies your friends tell you to keep you sane.