WELCOME TO OUR RENOVATION. THE FINALE.

“THE FINAL REVEAL! (THANK GOD I LIKE IT, BECAUSE I’M HUNKERED DOWN HERE.)”

It has literally been months since I promised the final reveal “next week”.  So much has changed in that time – it is staggering.  

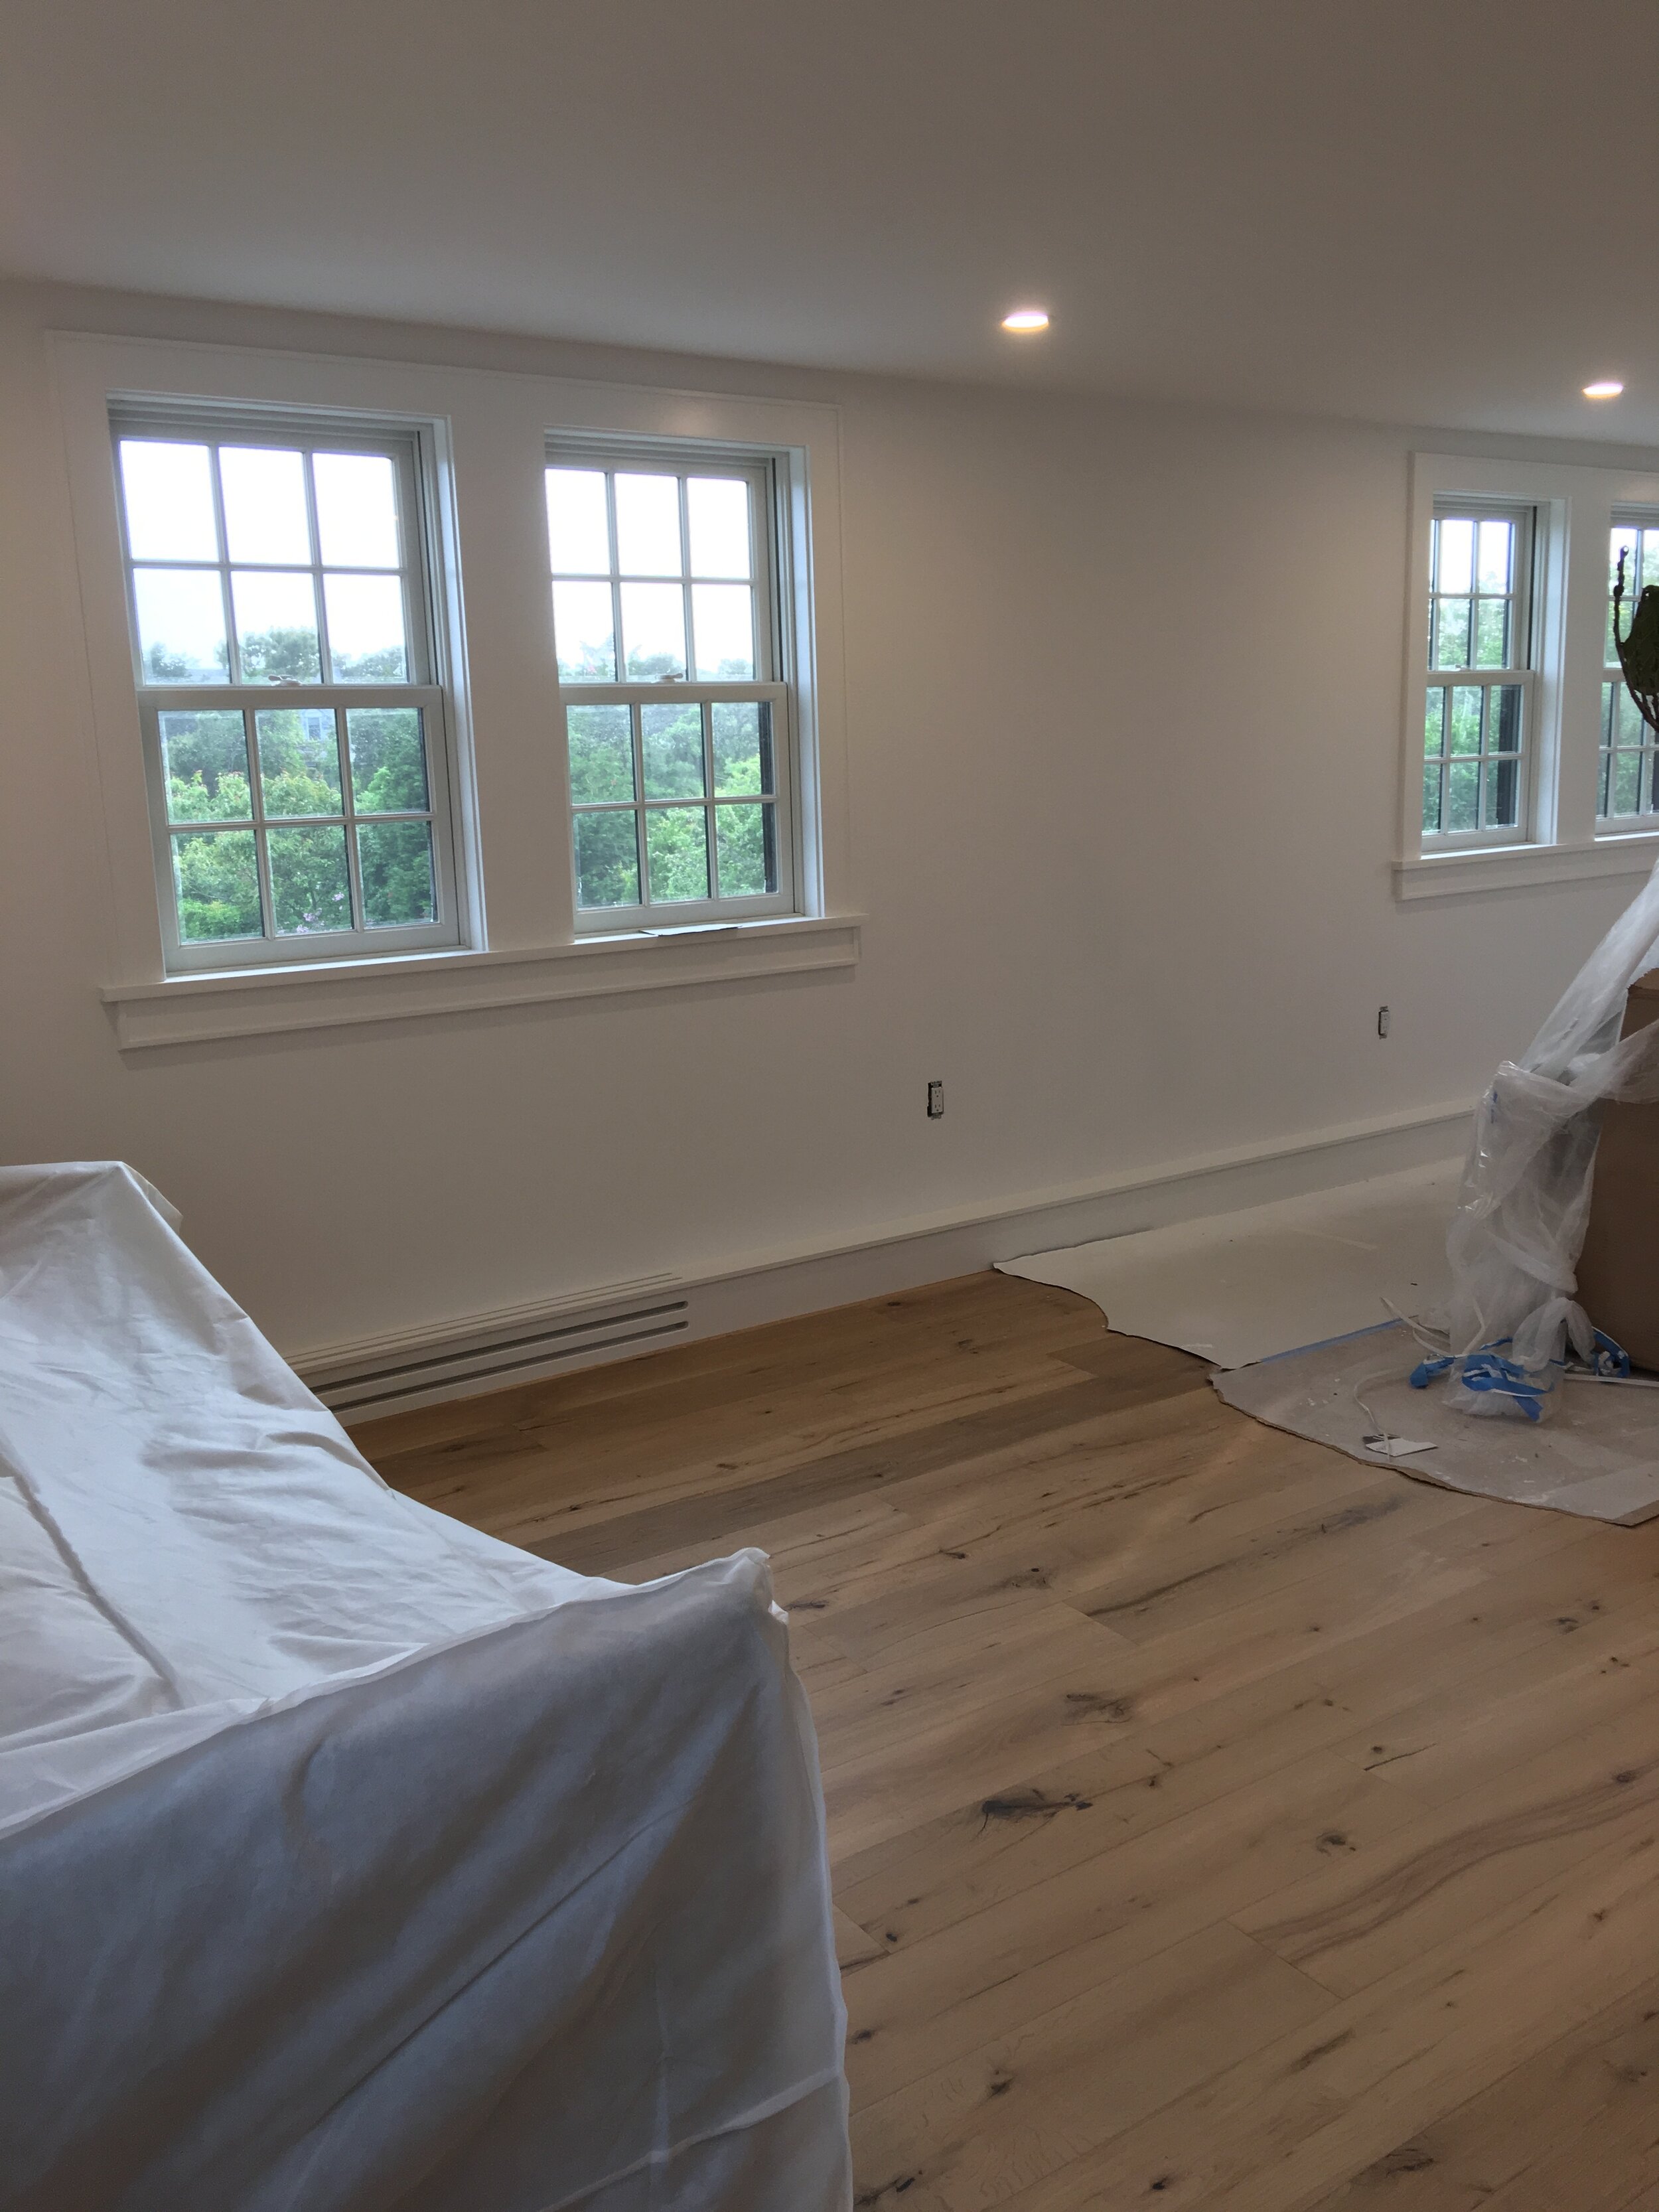
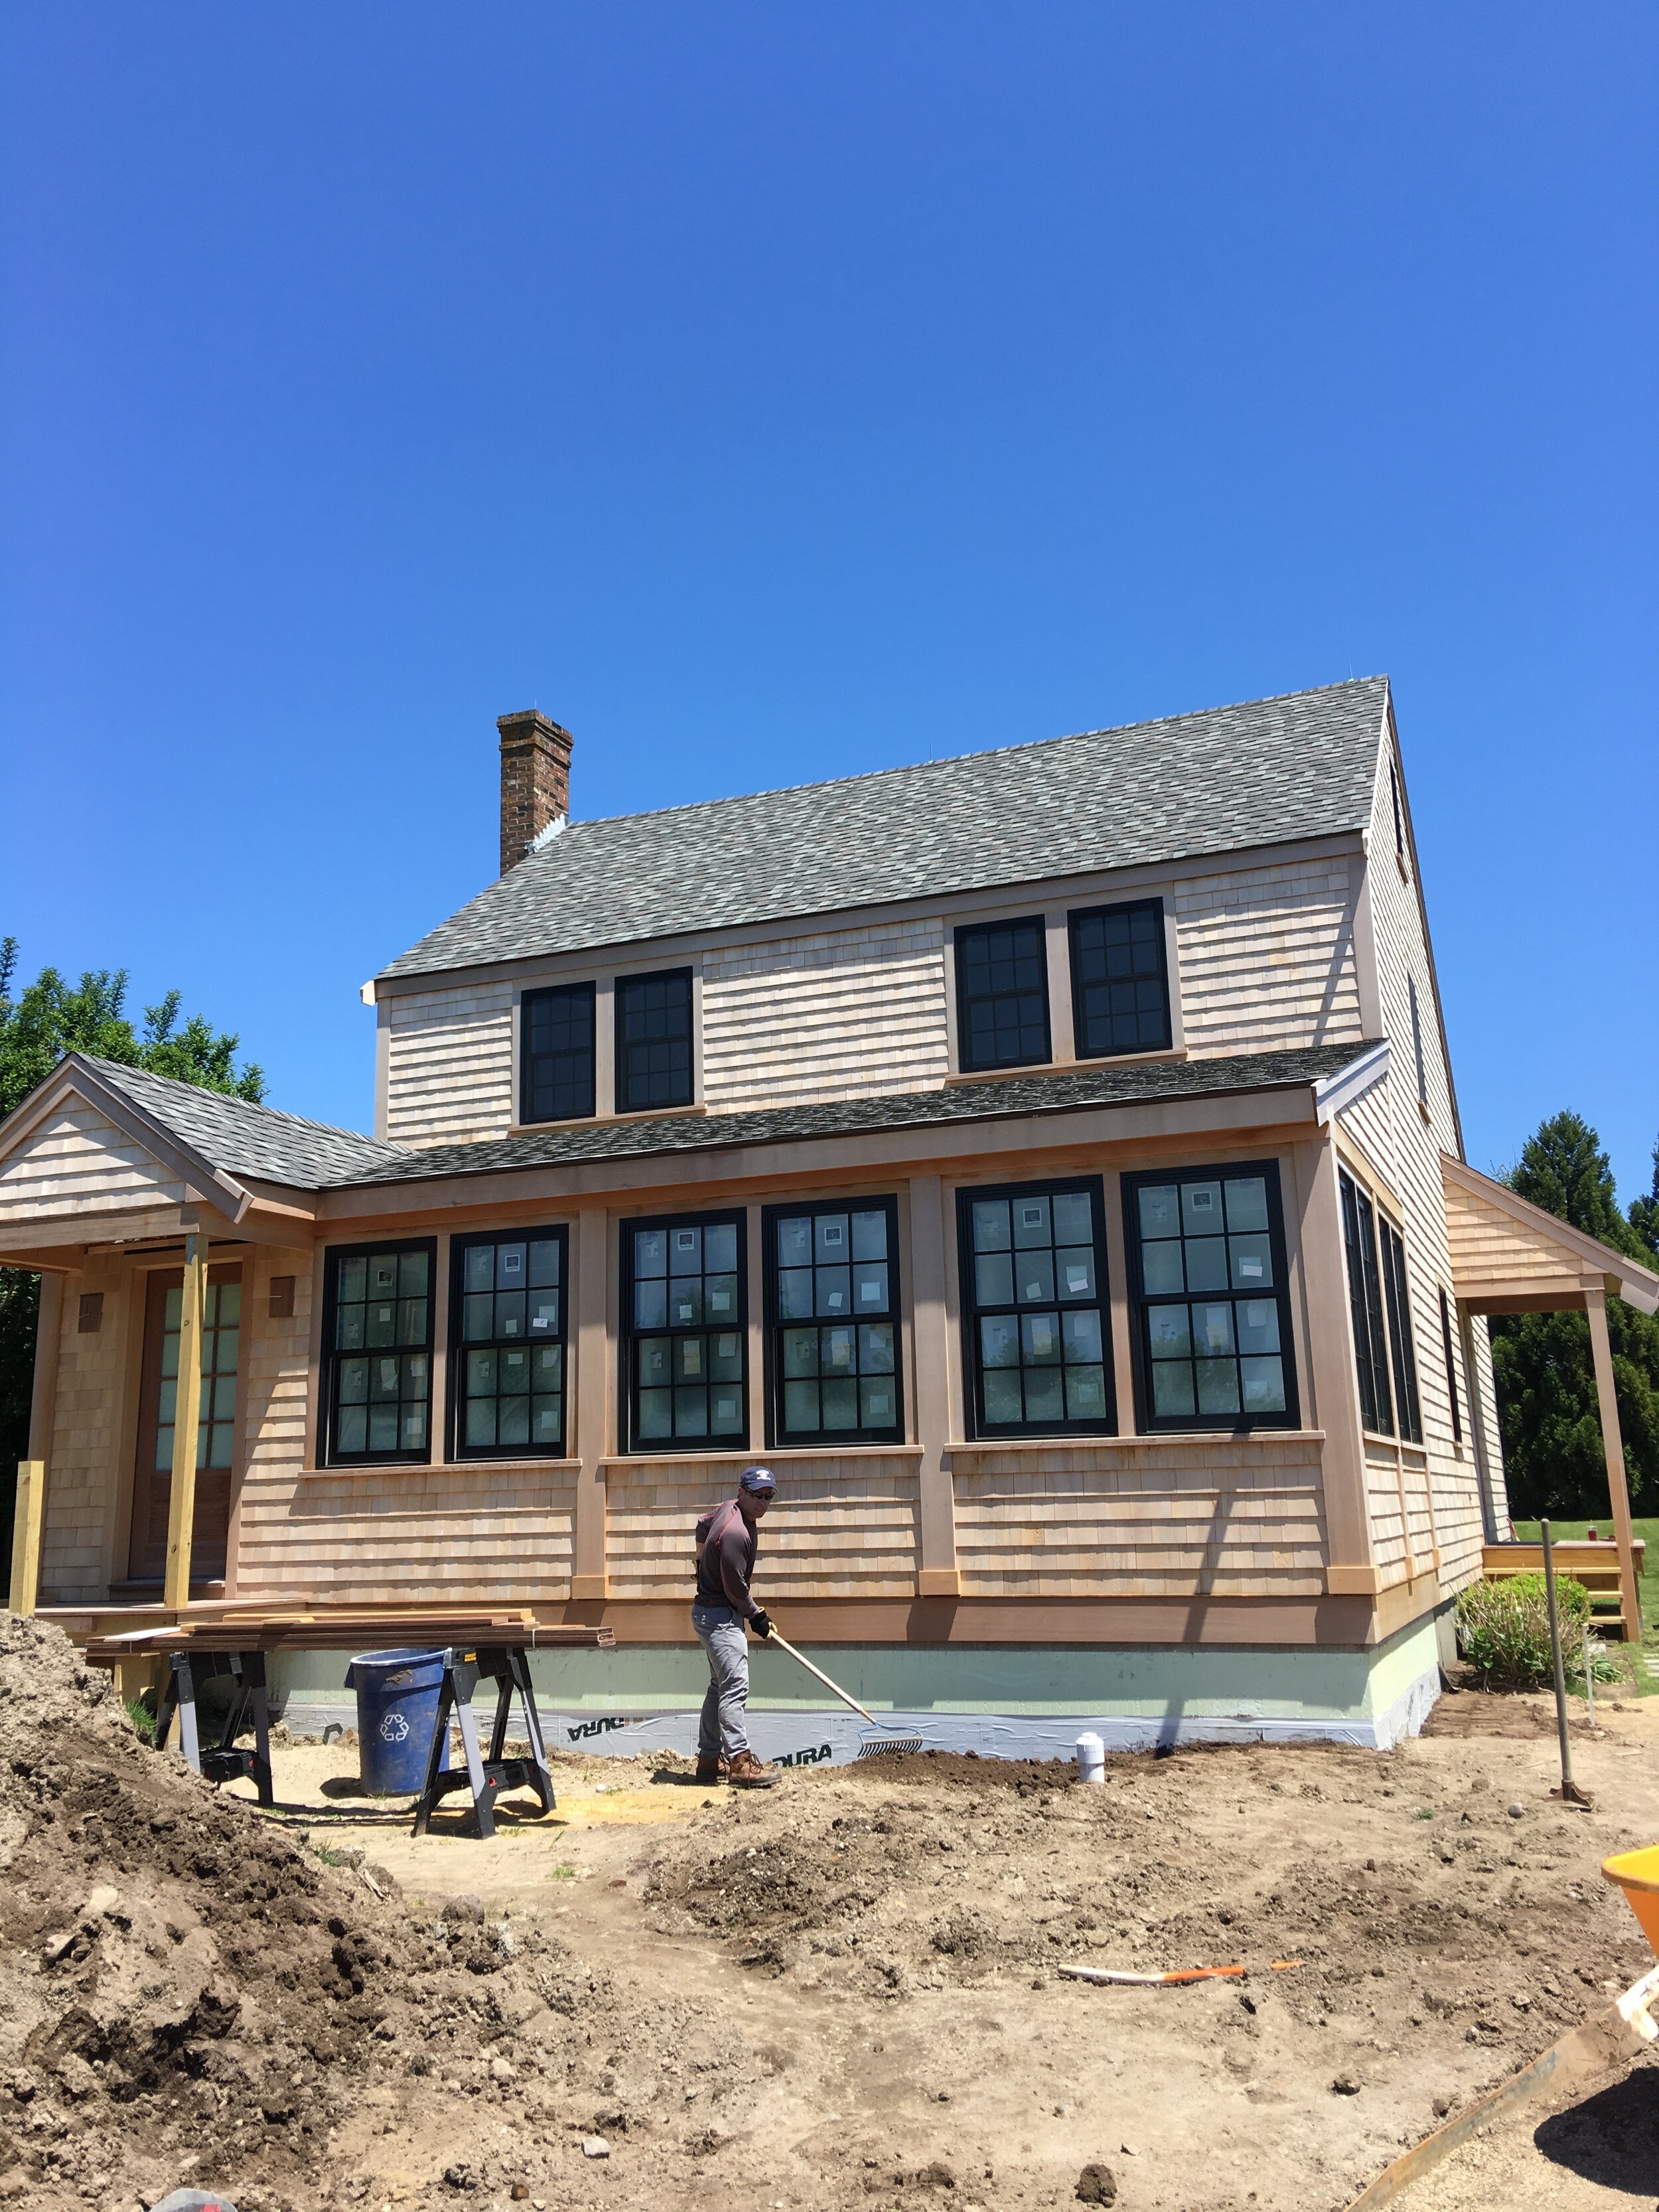
Many, if not all of you, follow me for a glimpse into the natural beauty of Nantucket. Some of you hung around (and humored me) while I renovated our house. You put up with the polls, questions, and virtual melt downs over white paint – all of it. If you missed any of that, it is saved in my Instagram story highlights (parts one and two).

And up until the “shelter in place” order, I was also interjecting a family member’s renovation into my normal Nantucket/home decor content. Construction on Nantucket is currently on pause – but once that can safely resume, I can’t wait to show you that project, too! (Also saved in my story highlights).

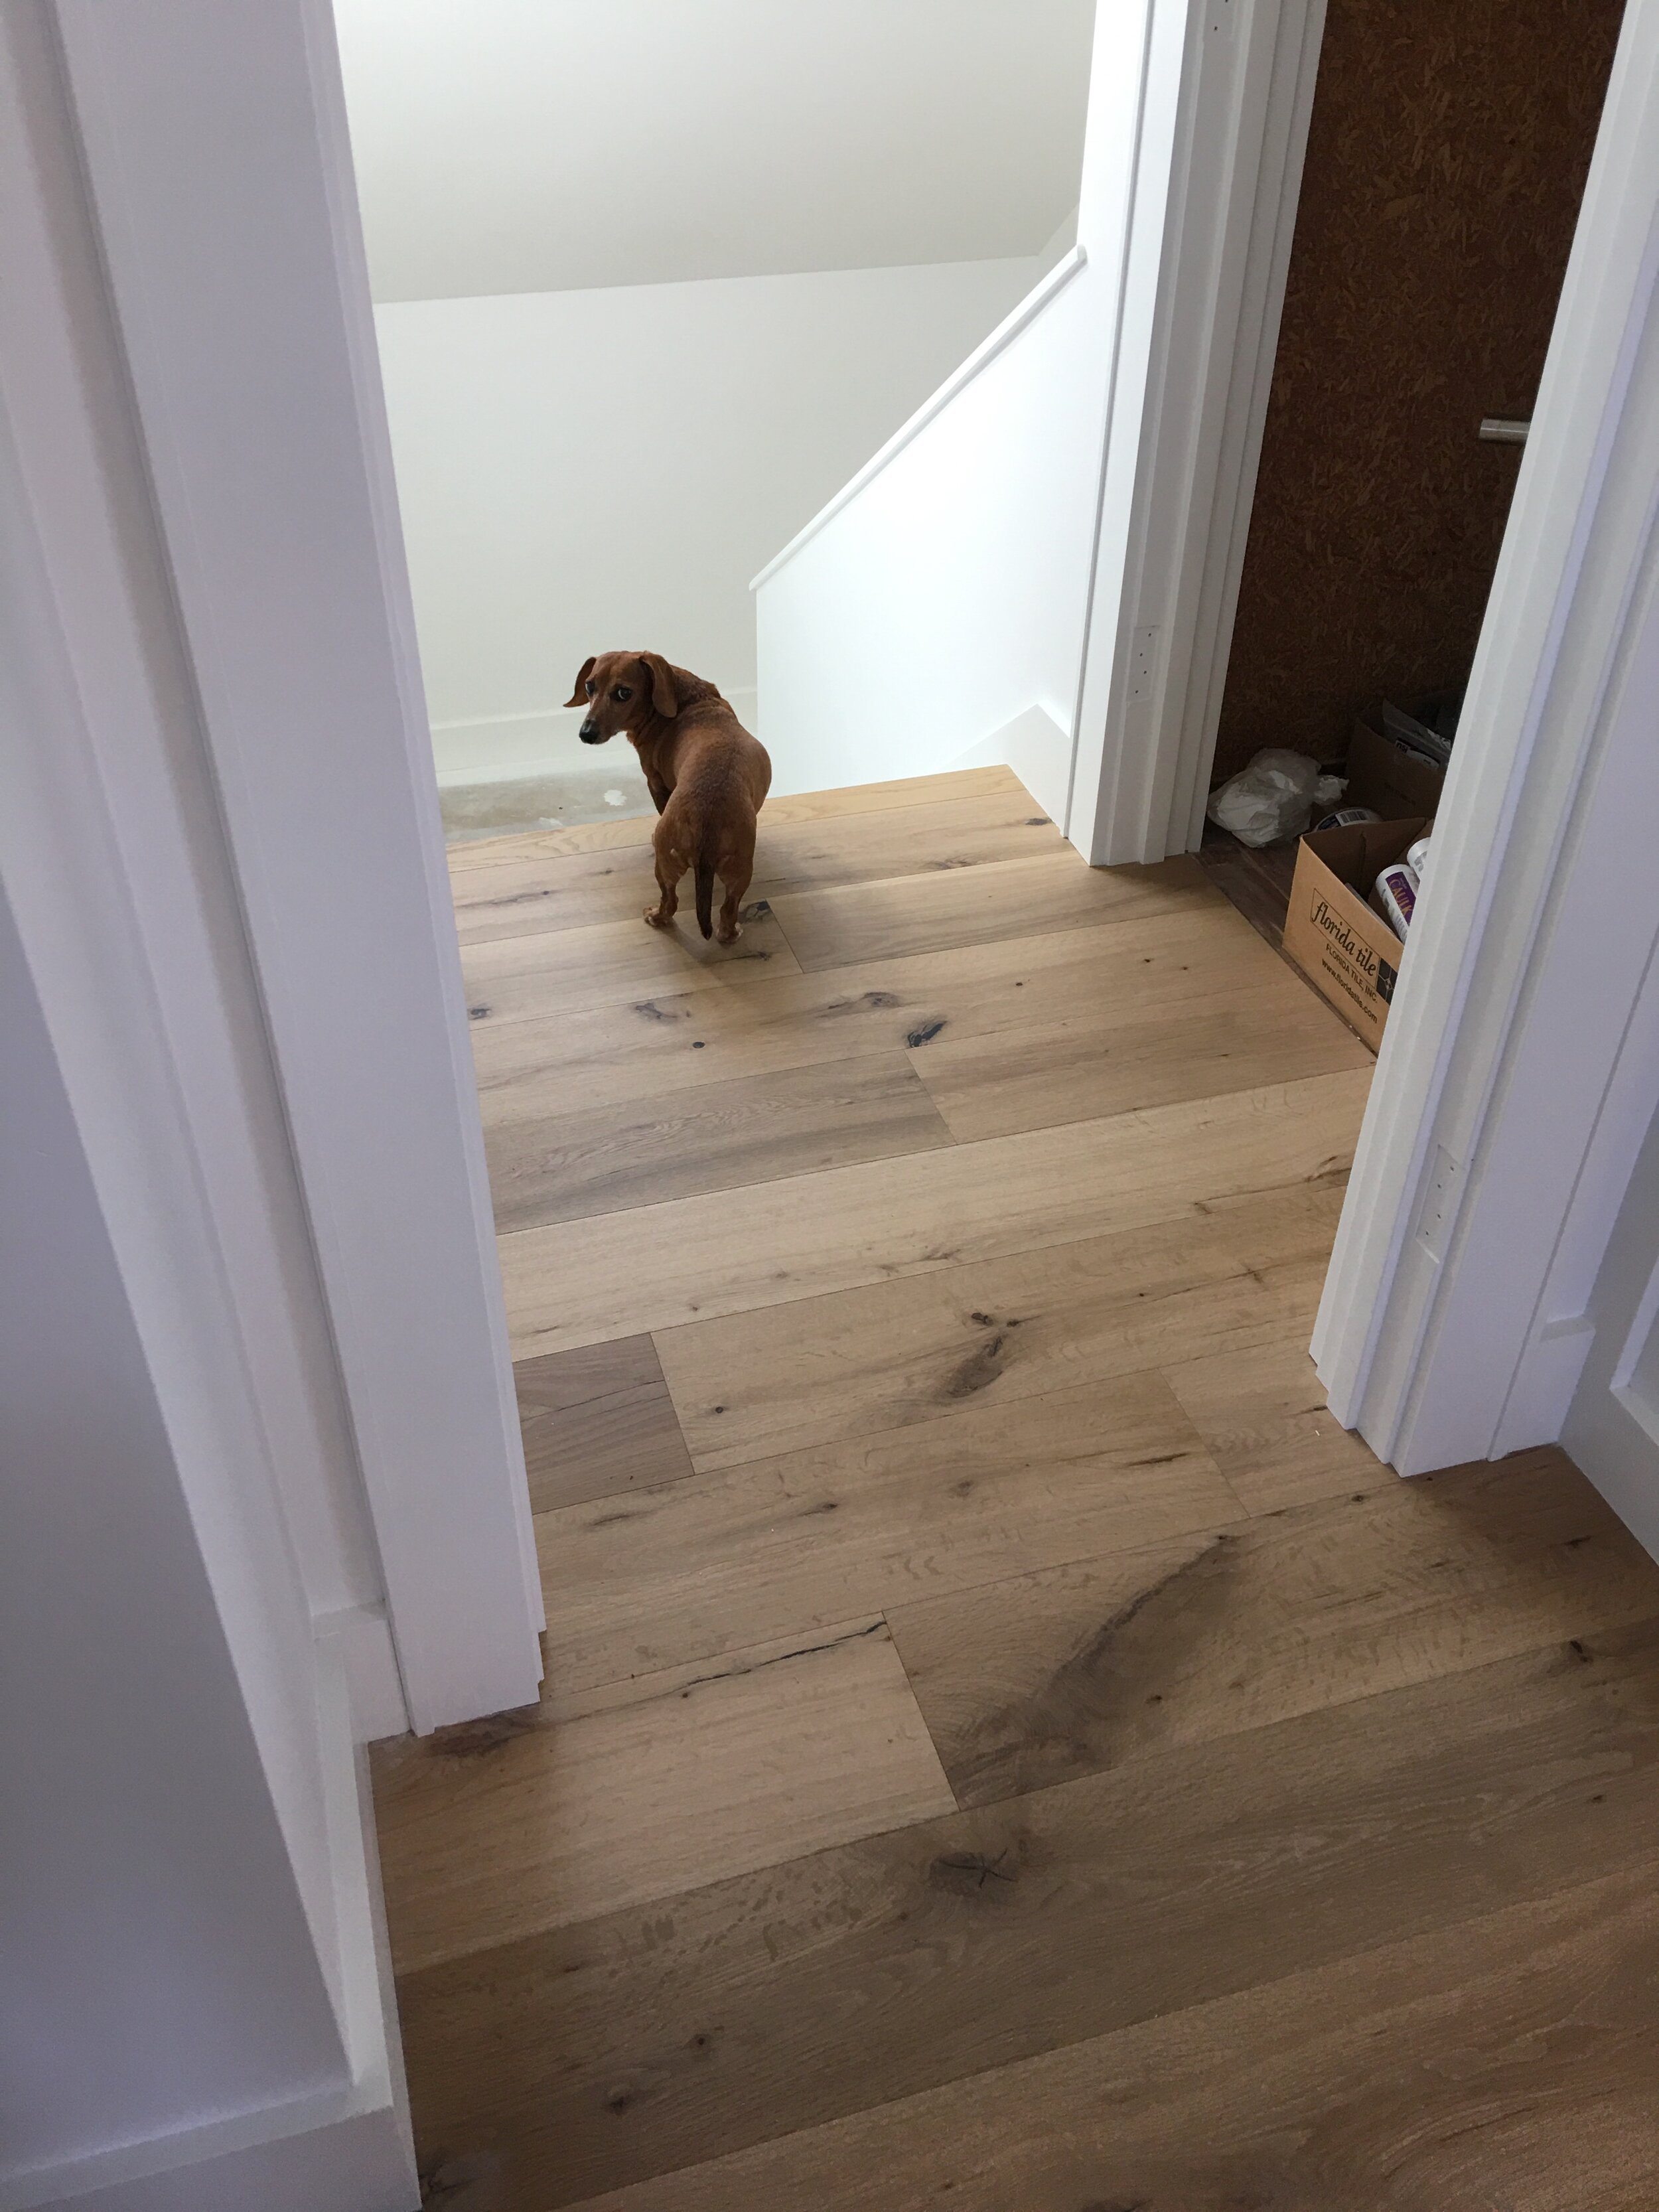
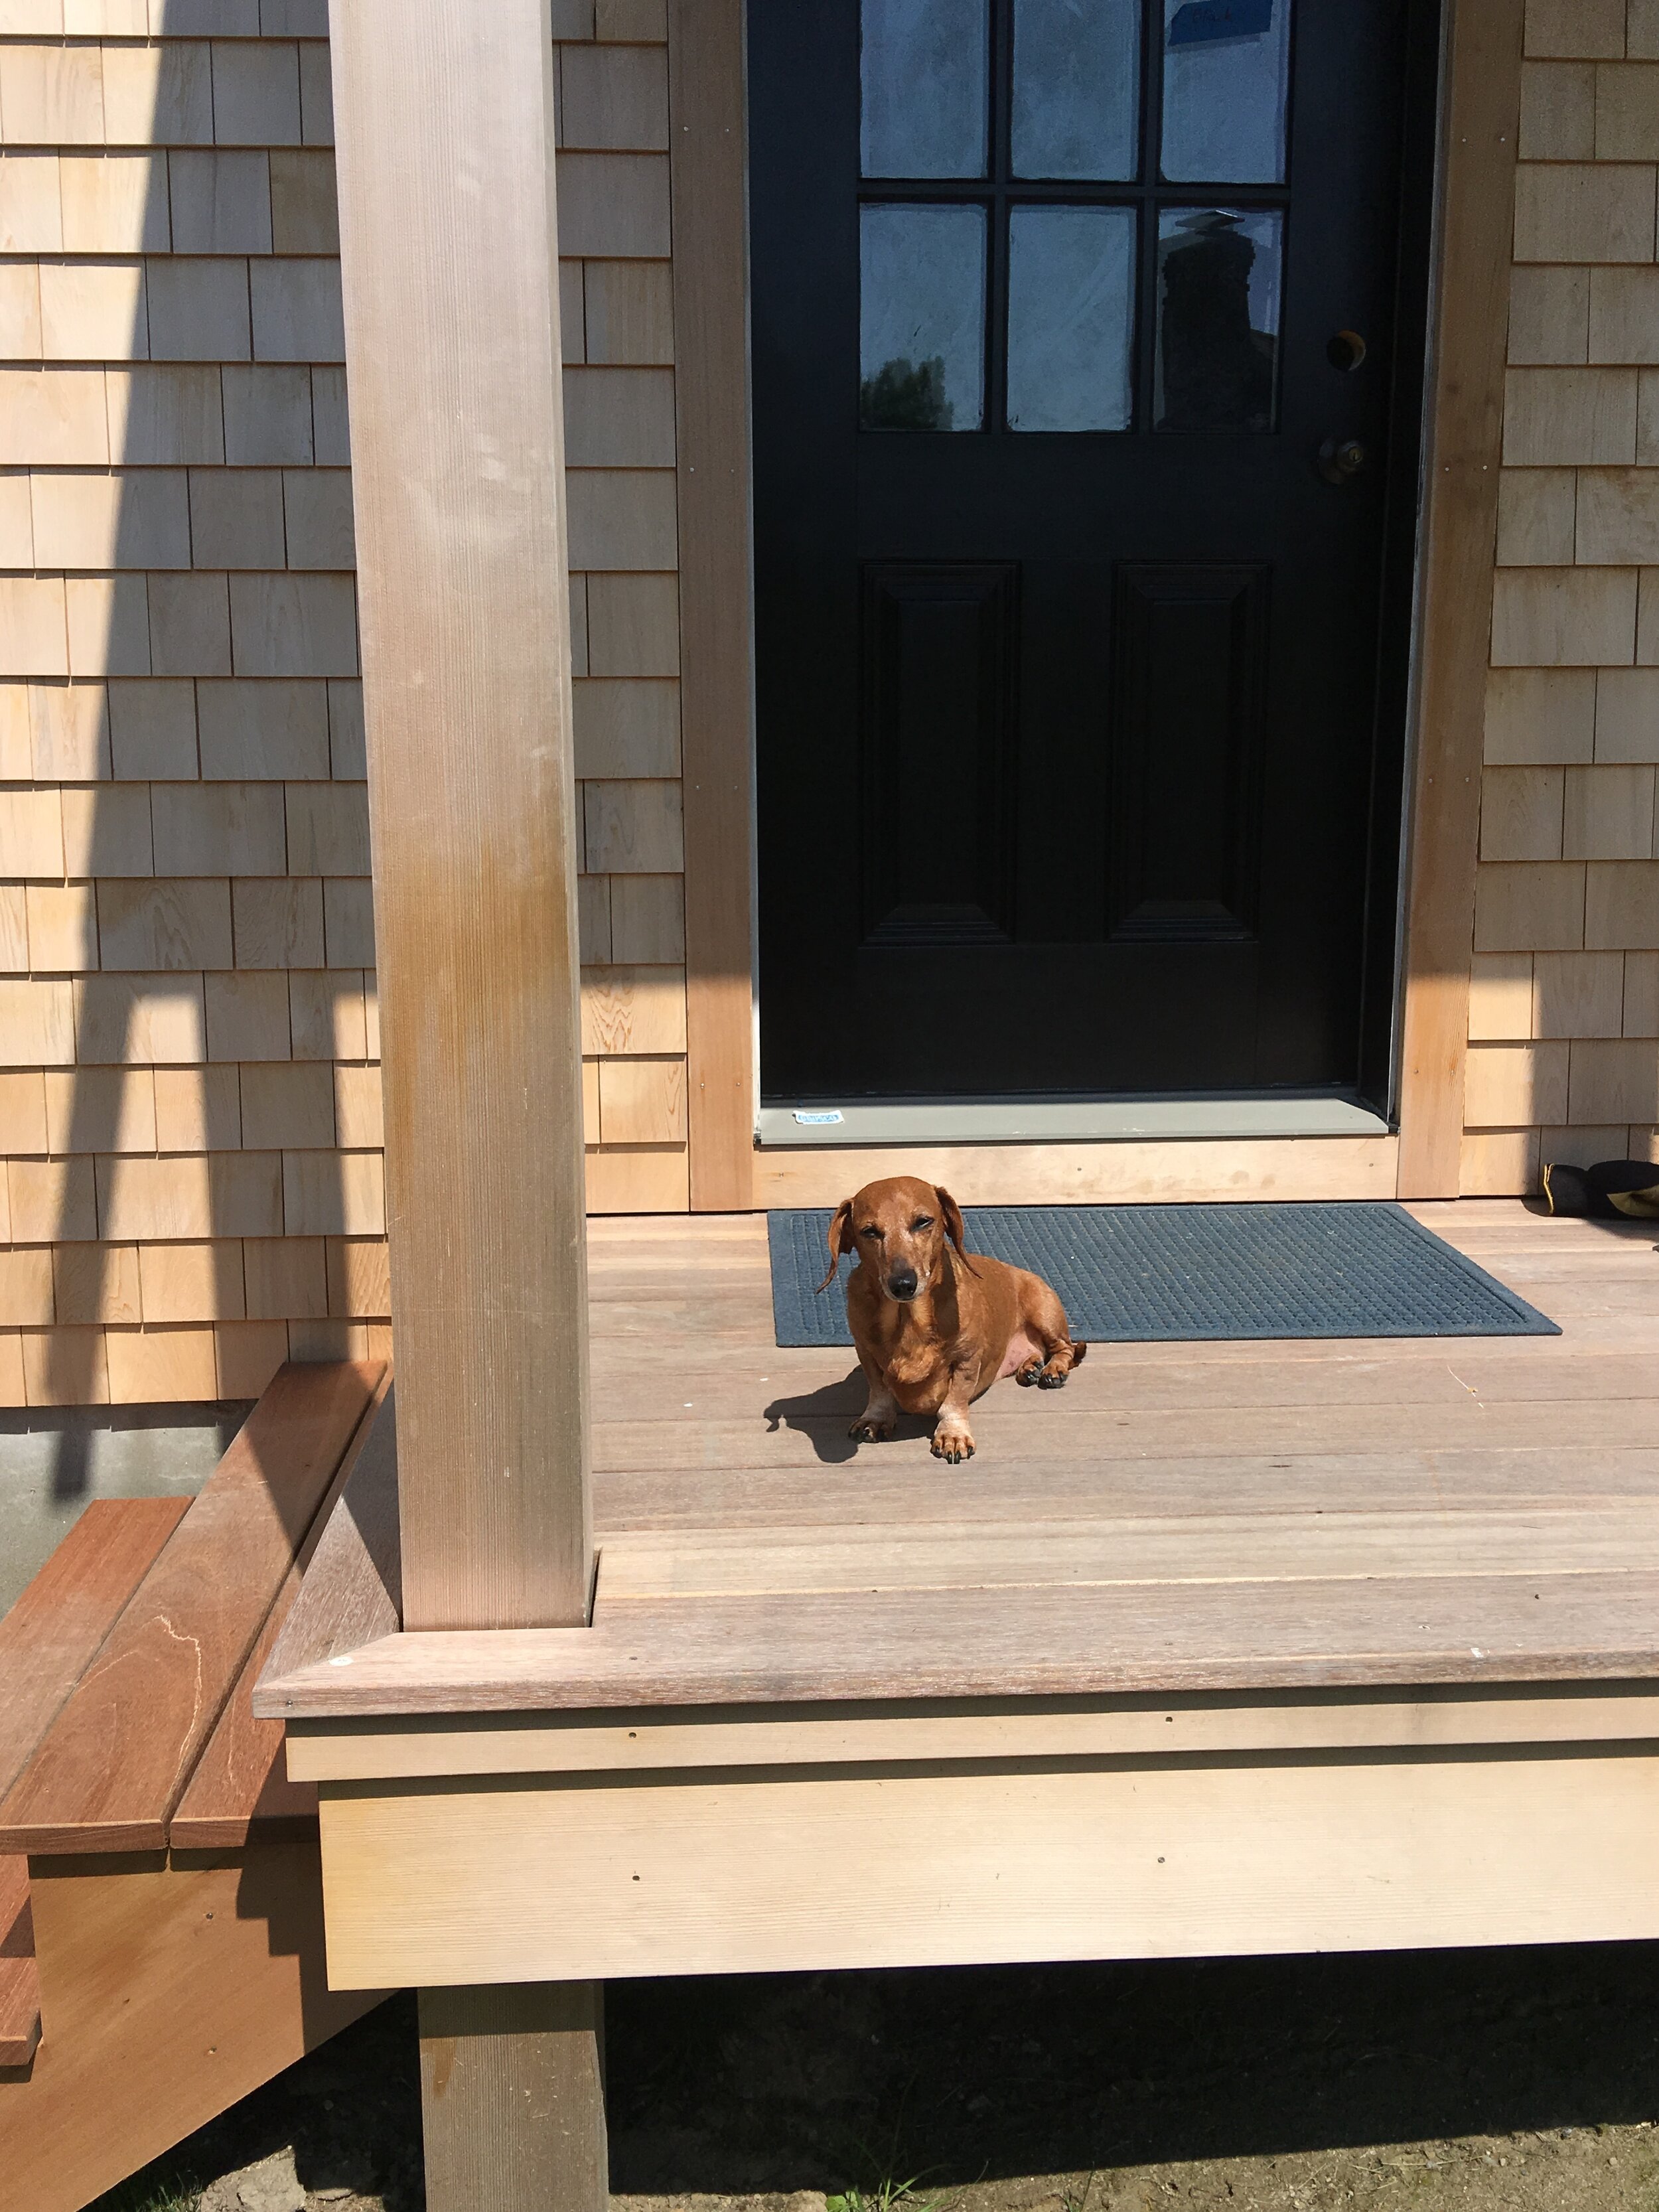
Since promising you the final reveal, our “love-you-like-our-first-born-child” dachshund passed away, and I completely lost my creative mojo. (She would have LOVED us being quarantined in the house non-stop with her.) Once covid-19 hit, I started writing again (because we can’t puzzle all day, every day).

Fast forward almost a month aaaaand here we are. 

I’d be remiss if I didn’t say a final “thank you” to Julius Pasys and his crew at LithCon Inc., as well as Matthew MacEachern and his team at Emeritus. I’ve been in our home all day, every day since March 22nd and I STILL LIKE IT! 

(I’ve also planned the master bathroom renovation in my head about 100 times after deciding our shower is impossible to keep clean. I think I’ve destroyed the grout, so Neil has that to look forward to in addition to being able to leave the house. Lucky guy!)

So, what did I learn from my first renovation?

·       Get a really good referral for your builder + architect.

·       Be upfront about your budget so no one has unrealistic expectations about project scope.

·       Be prepared to make decisions in a timely manner.

·       Do not order your furniture and kitchen appliances too early. Being excited is not an excuse.

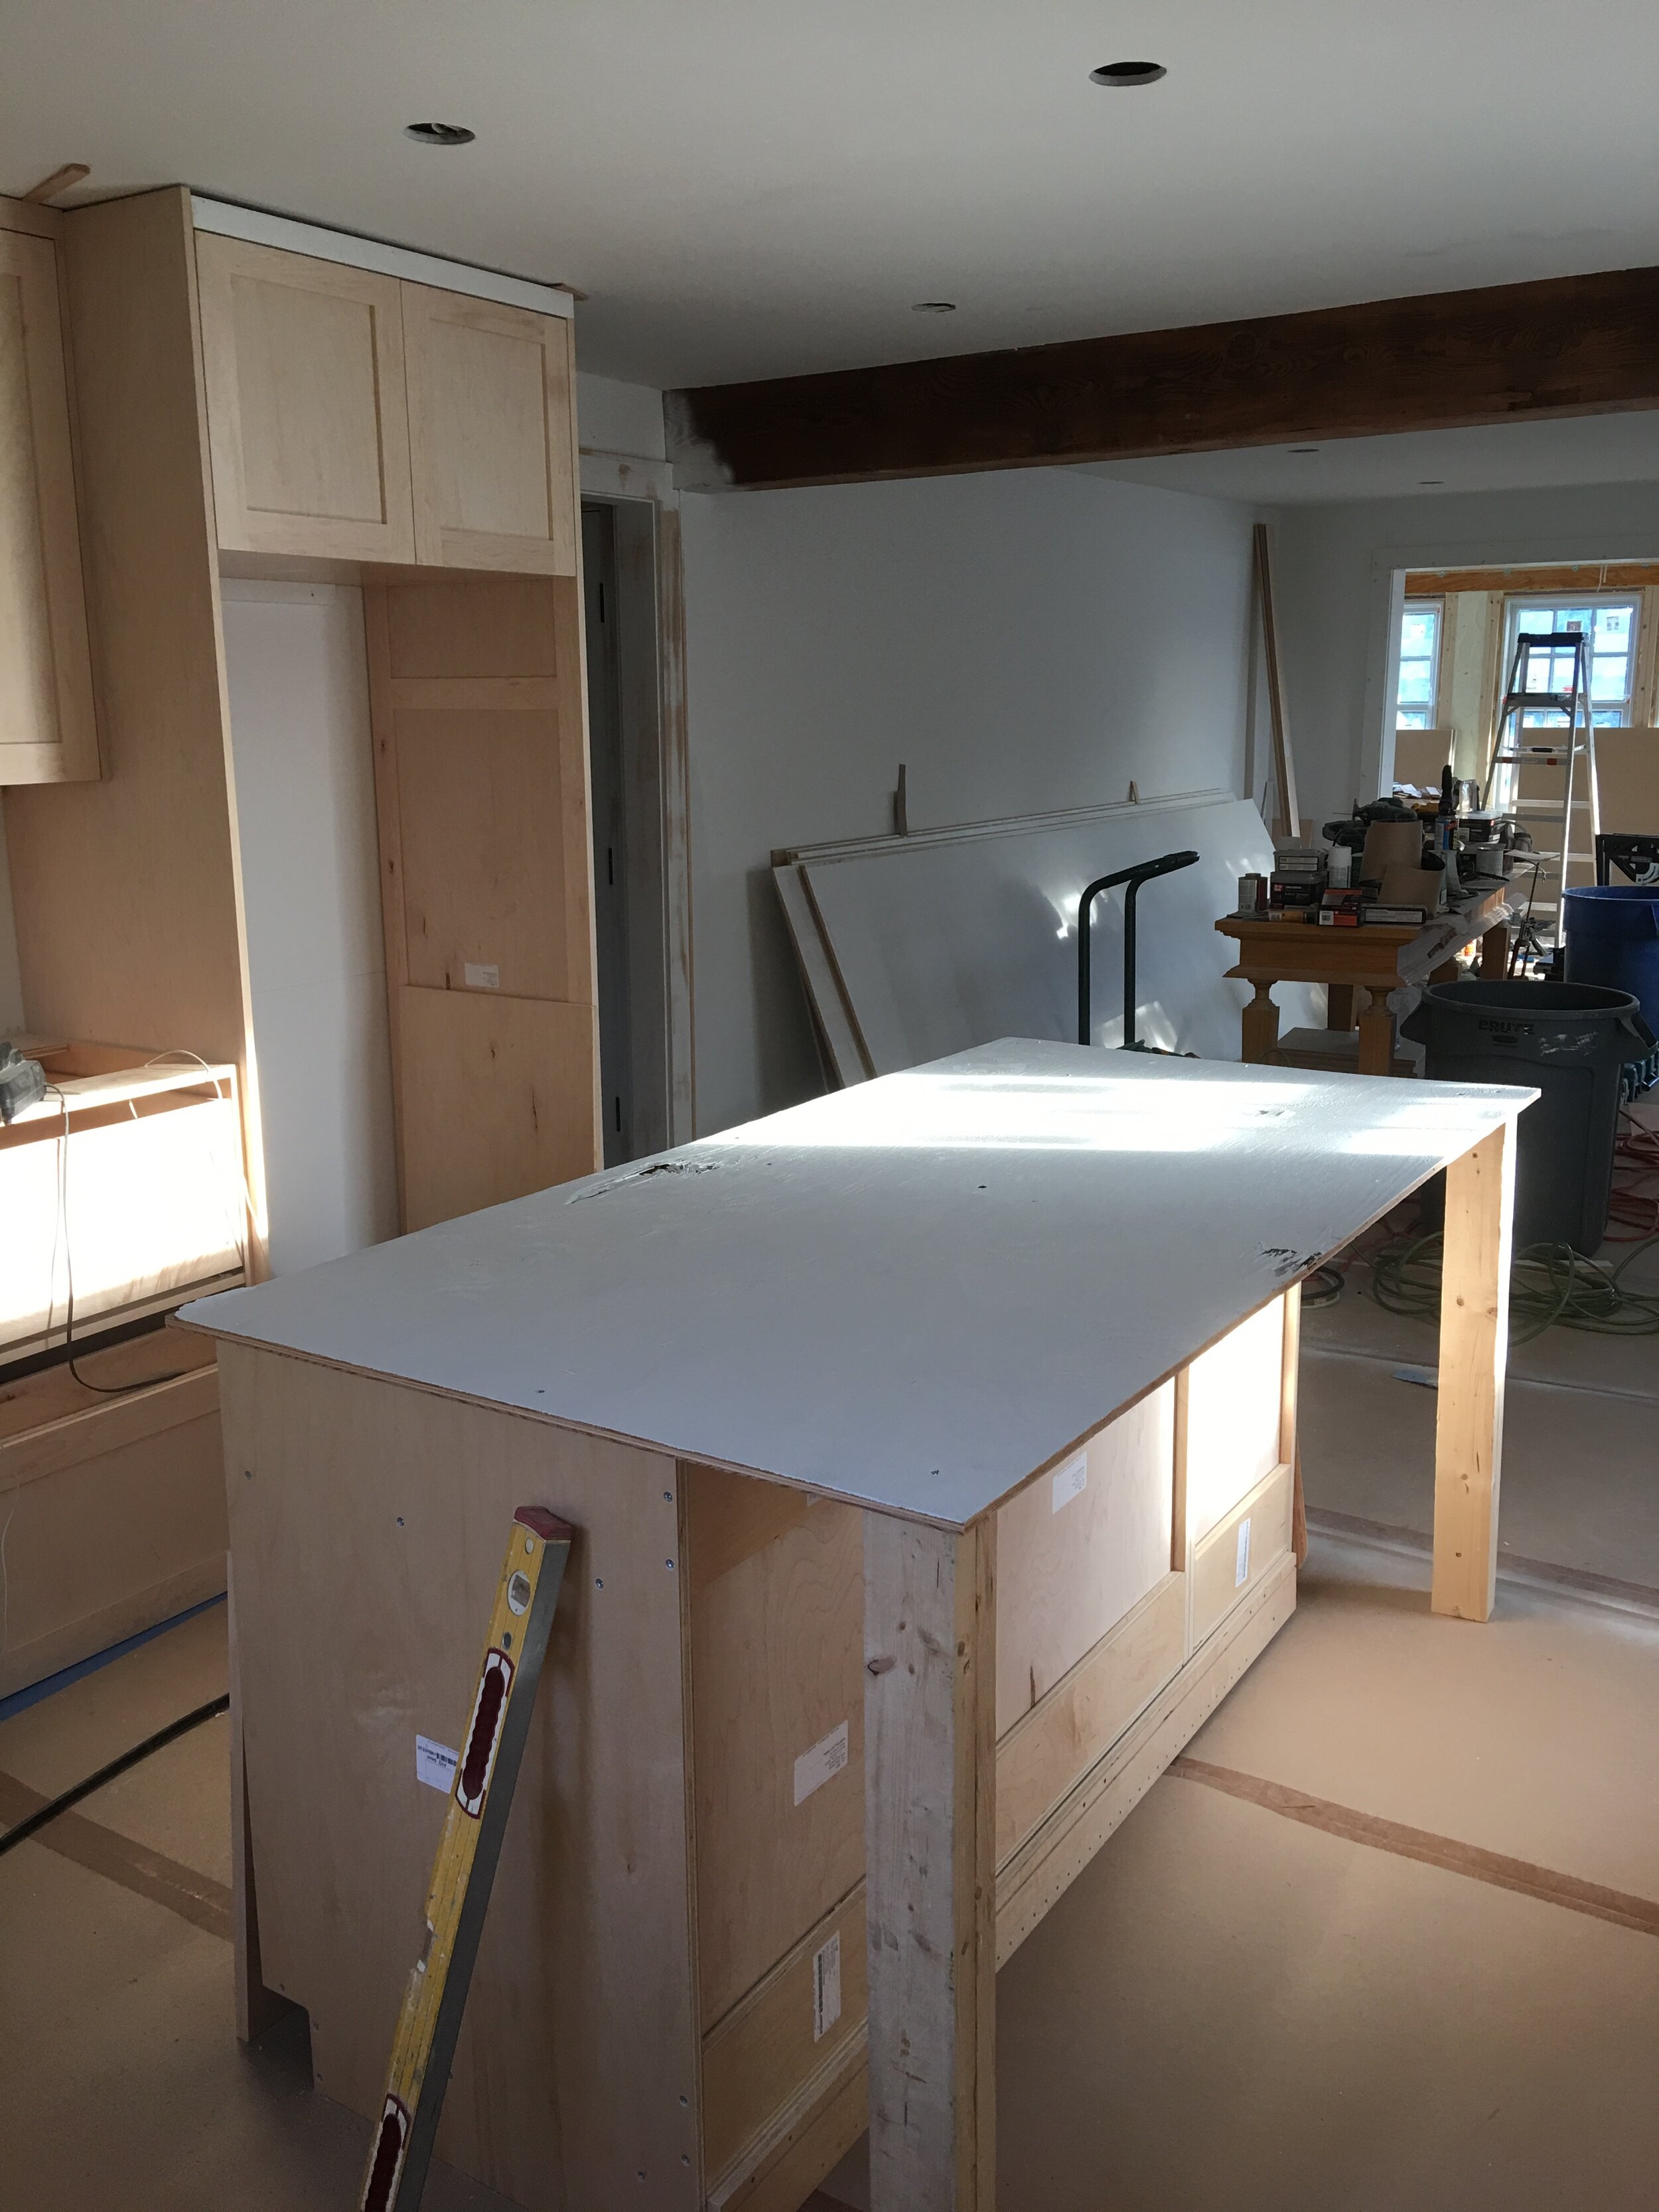
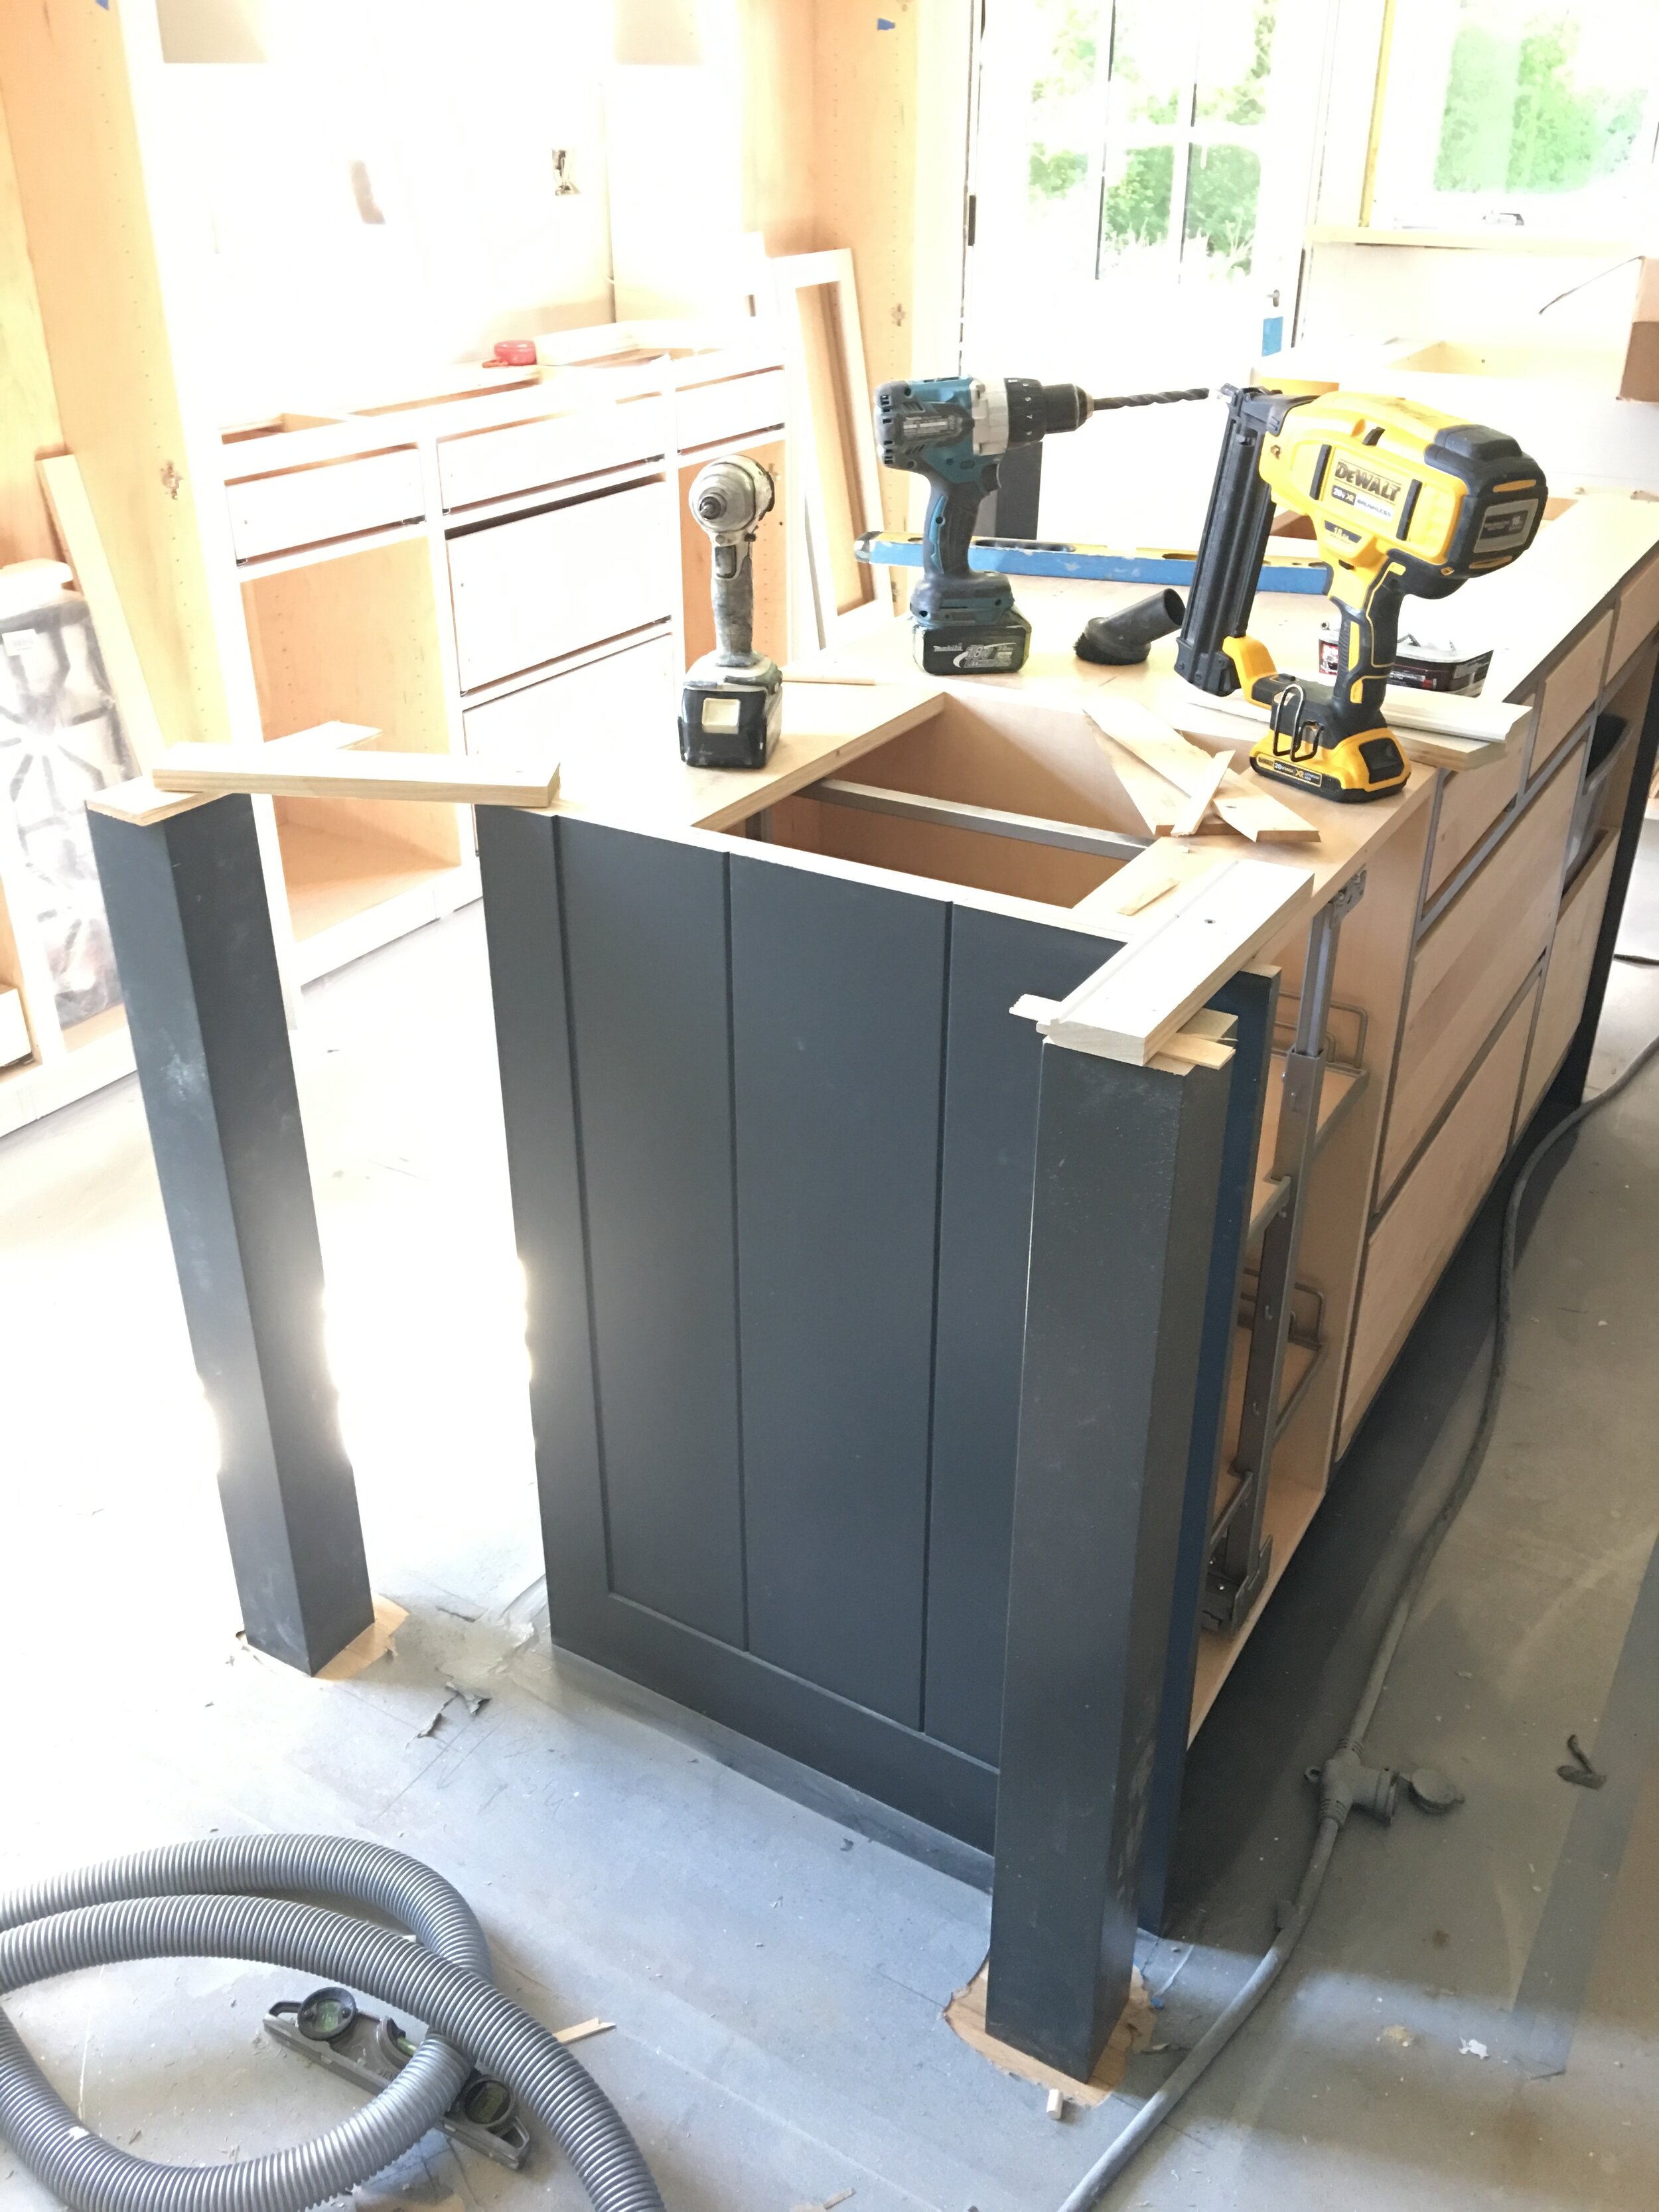
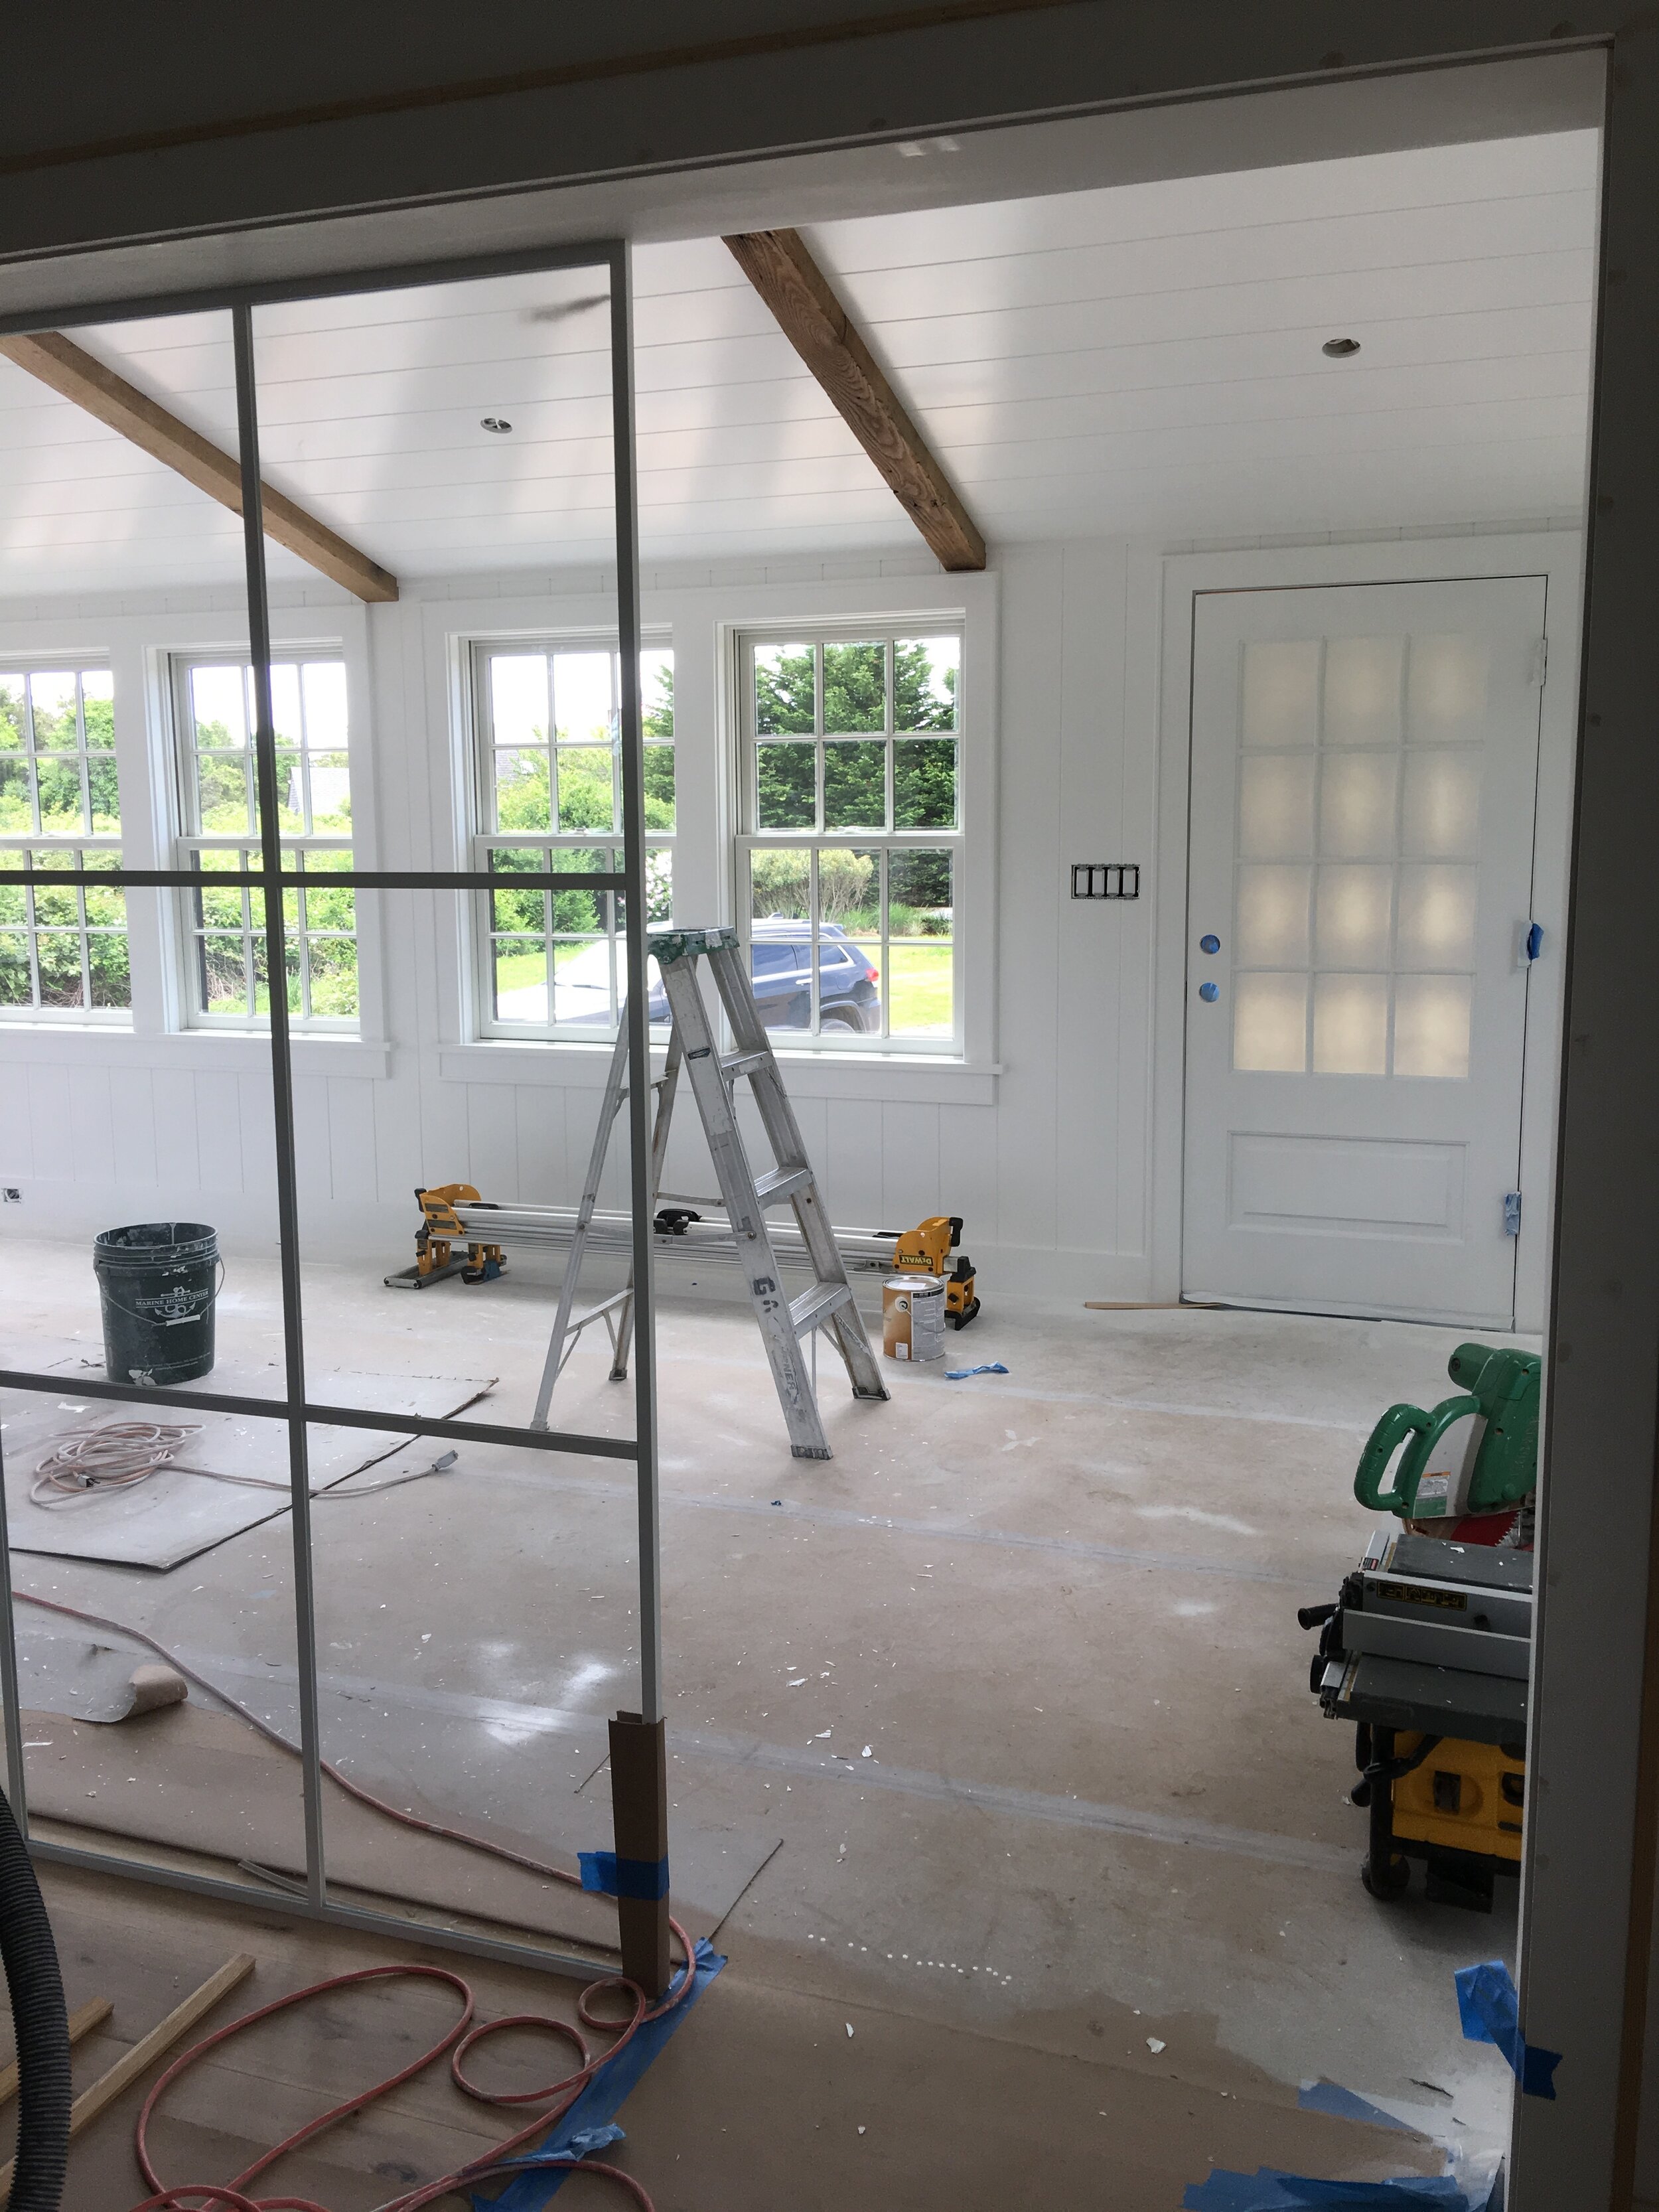
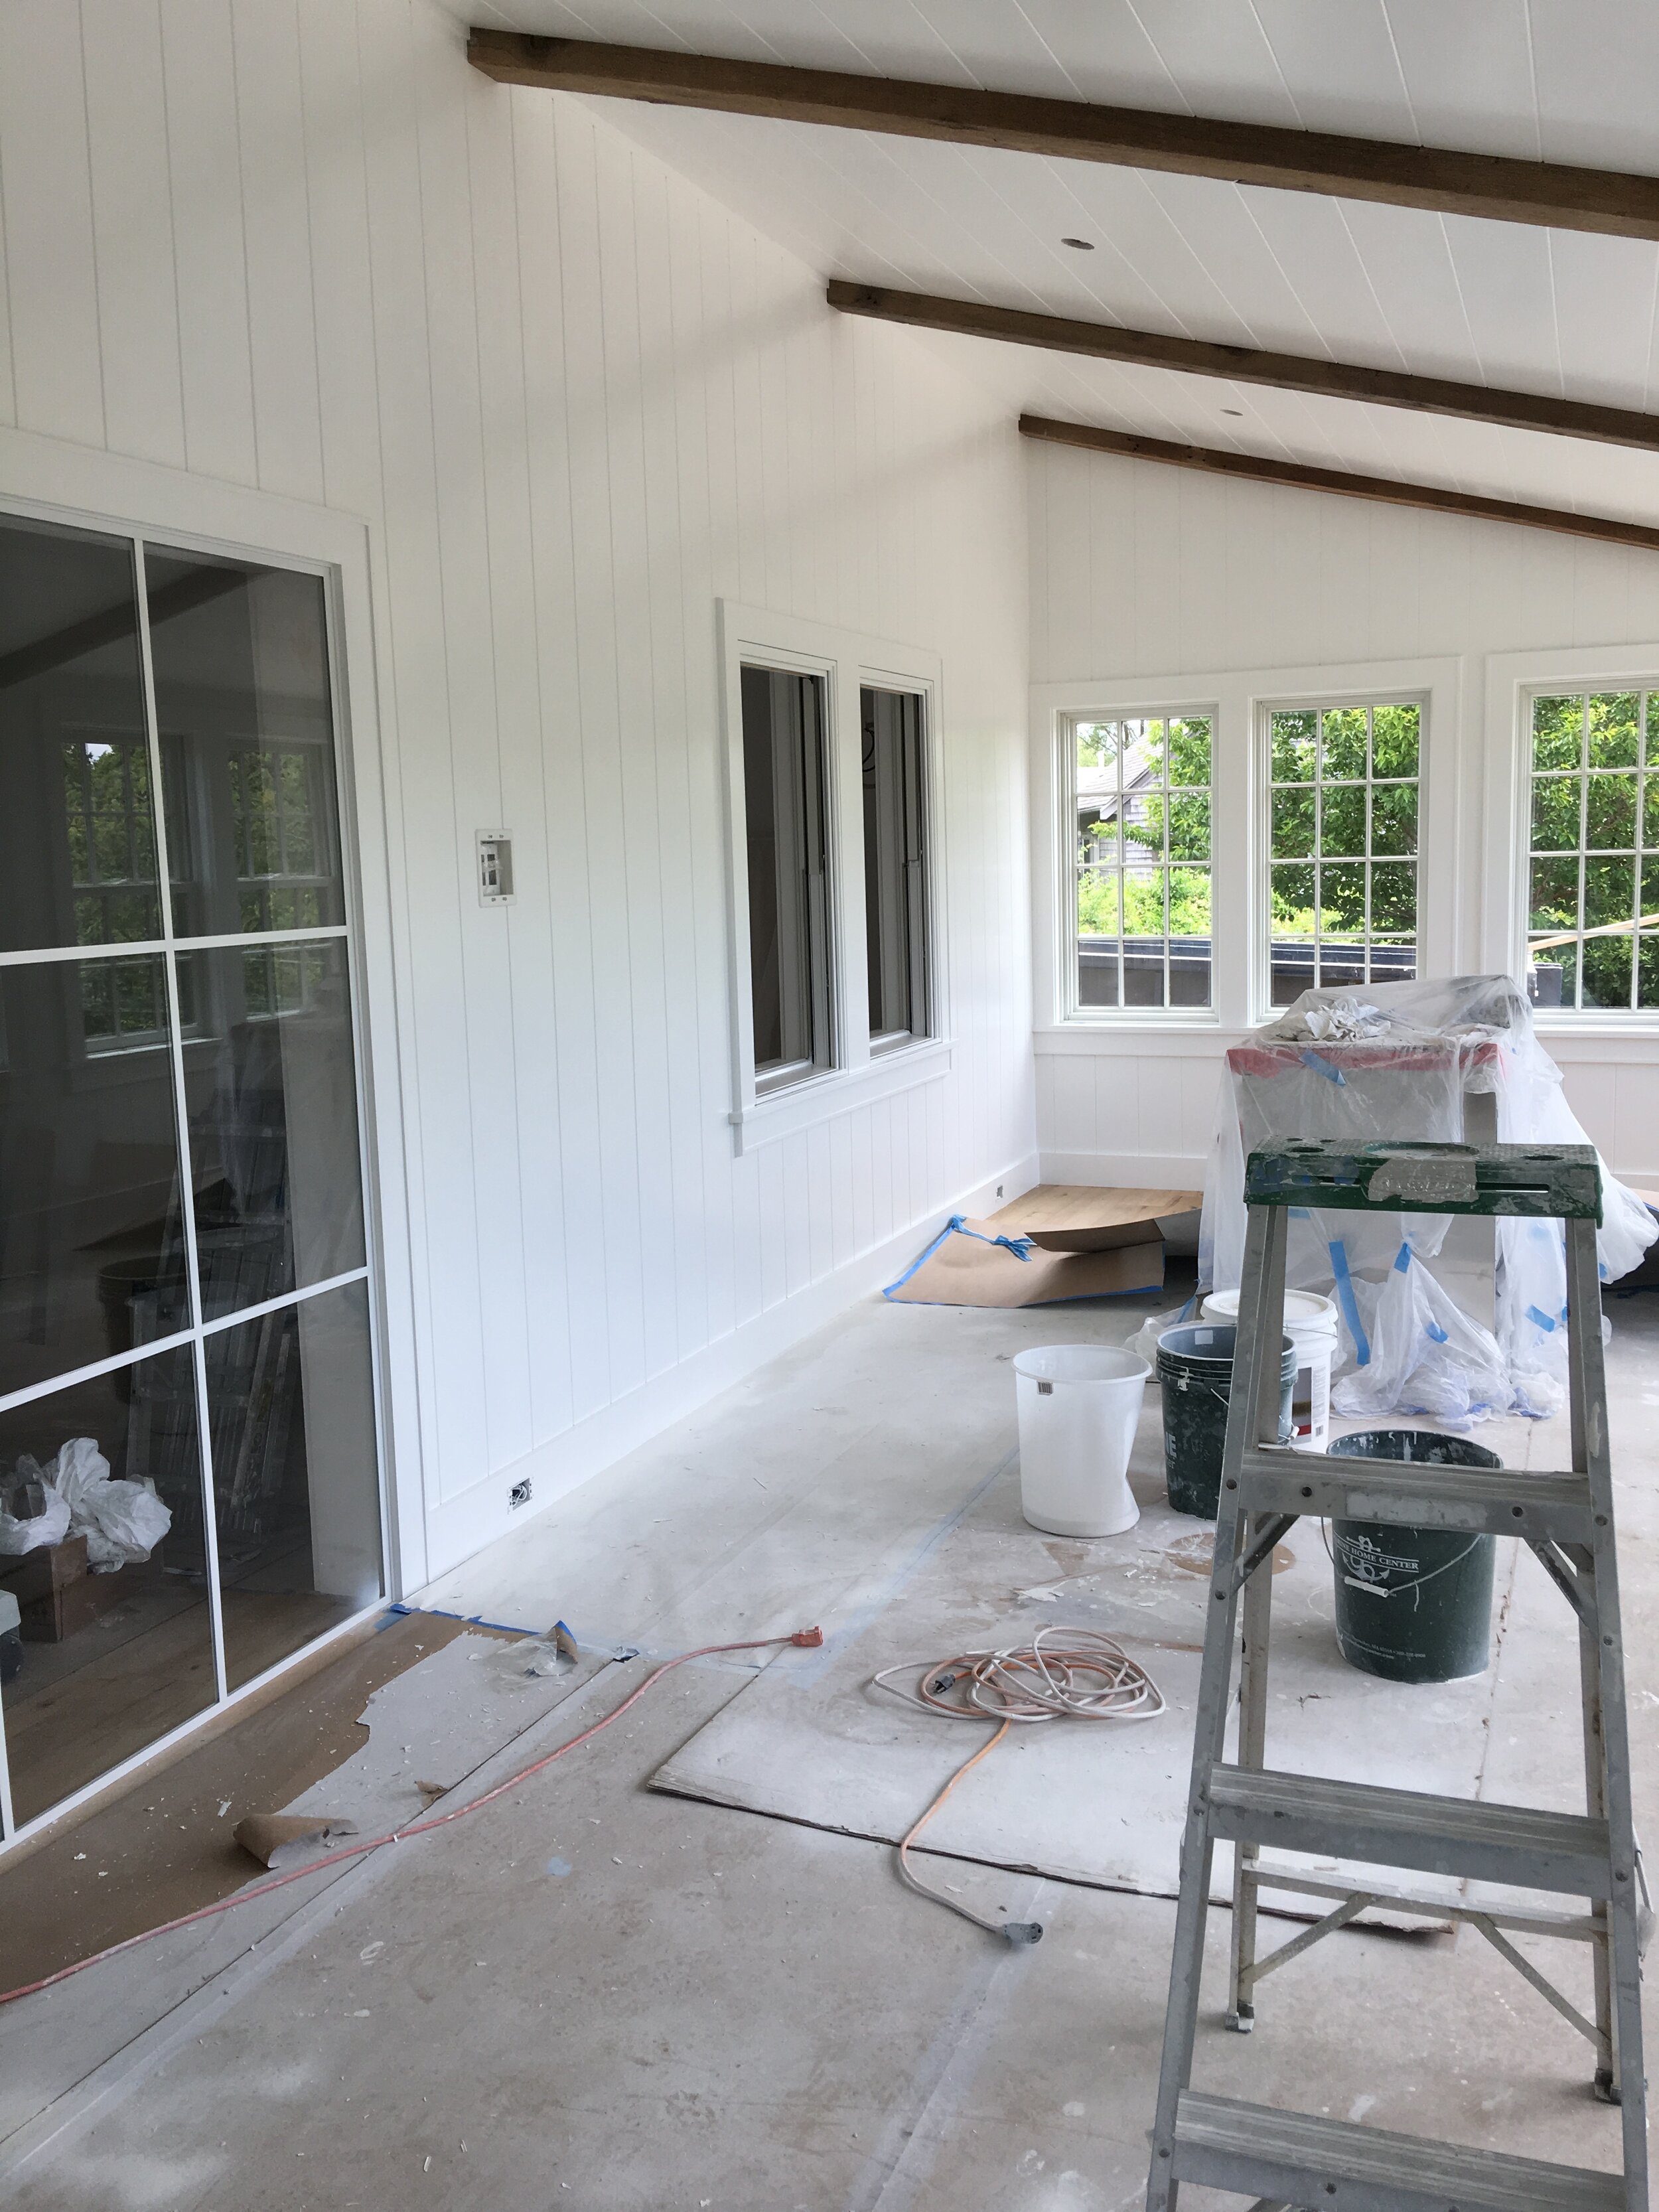
·       Trust the process (a/k/a a renovation is like watching sausage get made.)

·       A water/coffee/lunch delivery may make up for being *slightly* hyper-focused on, well….everything (jury is still out though).

·       Prioritize the big picture.

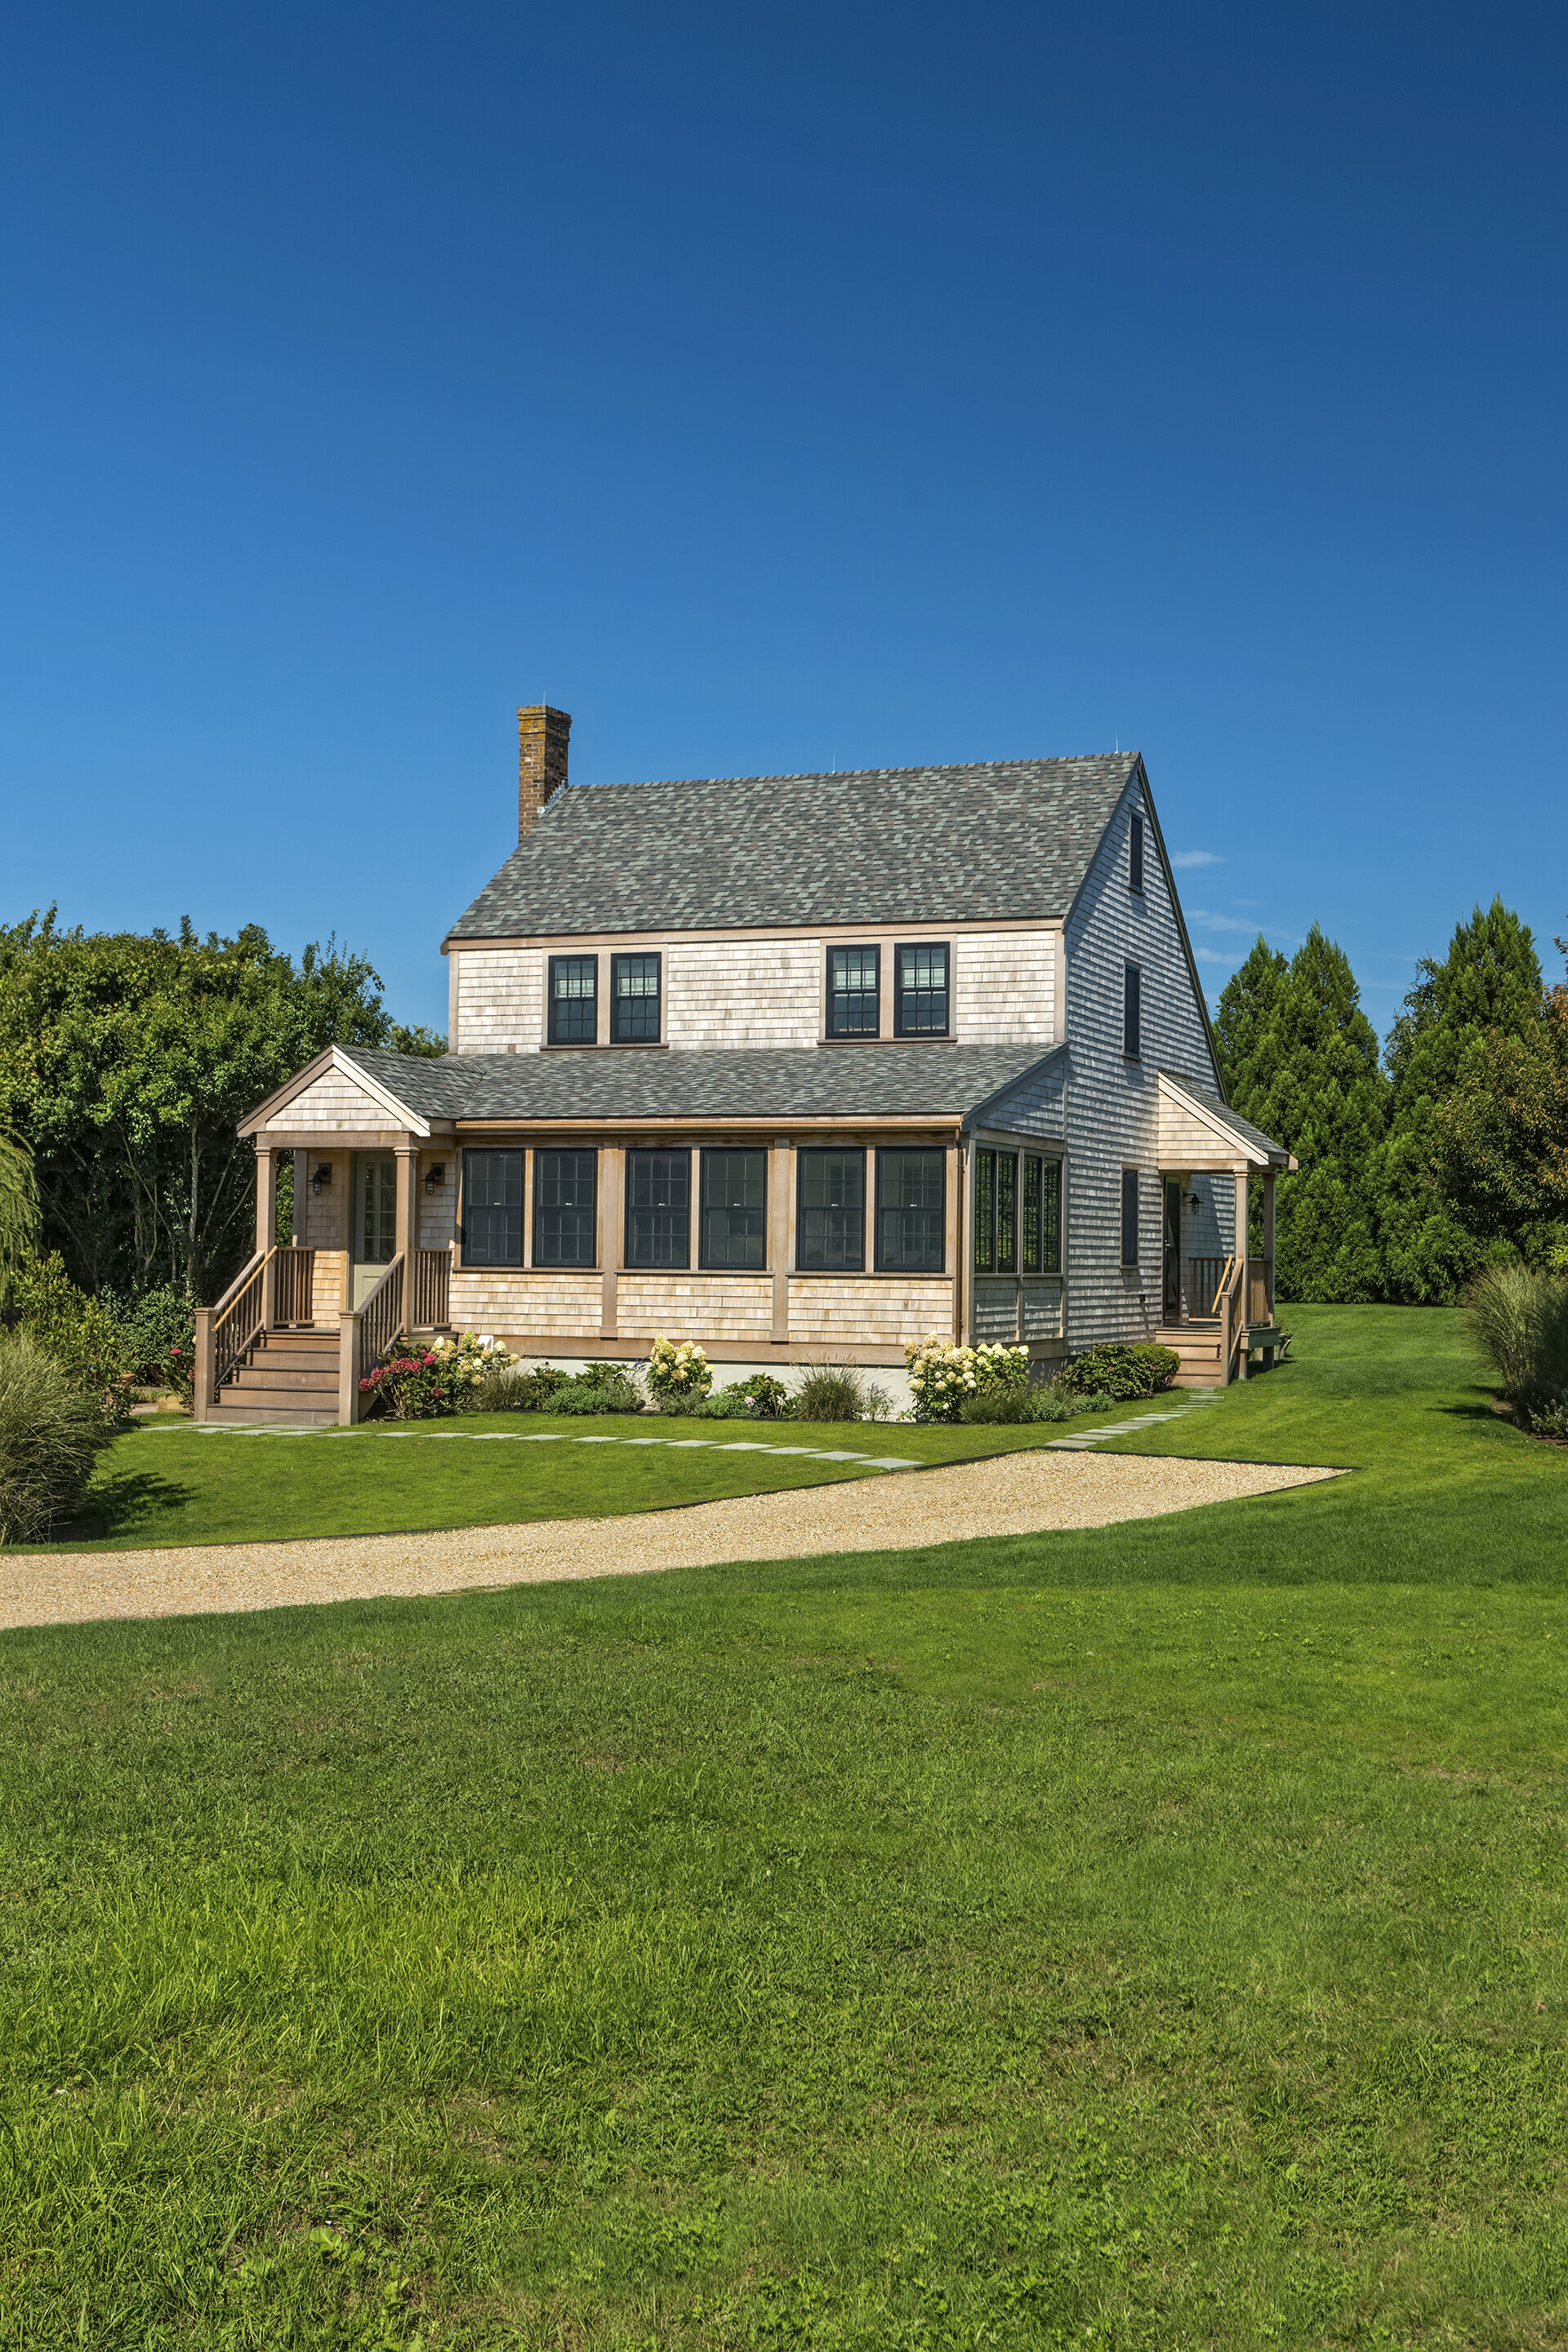
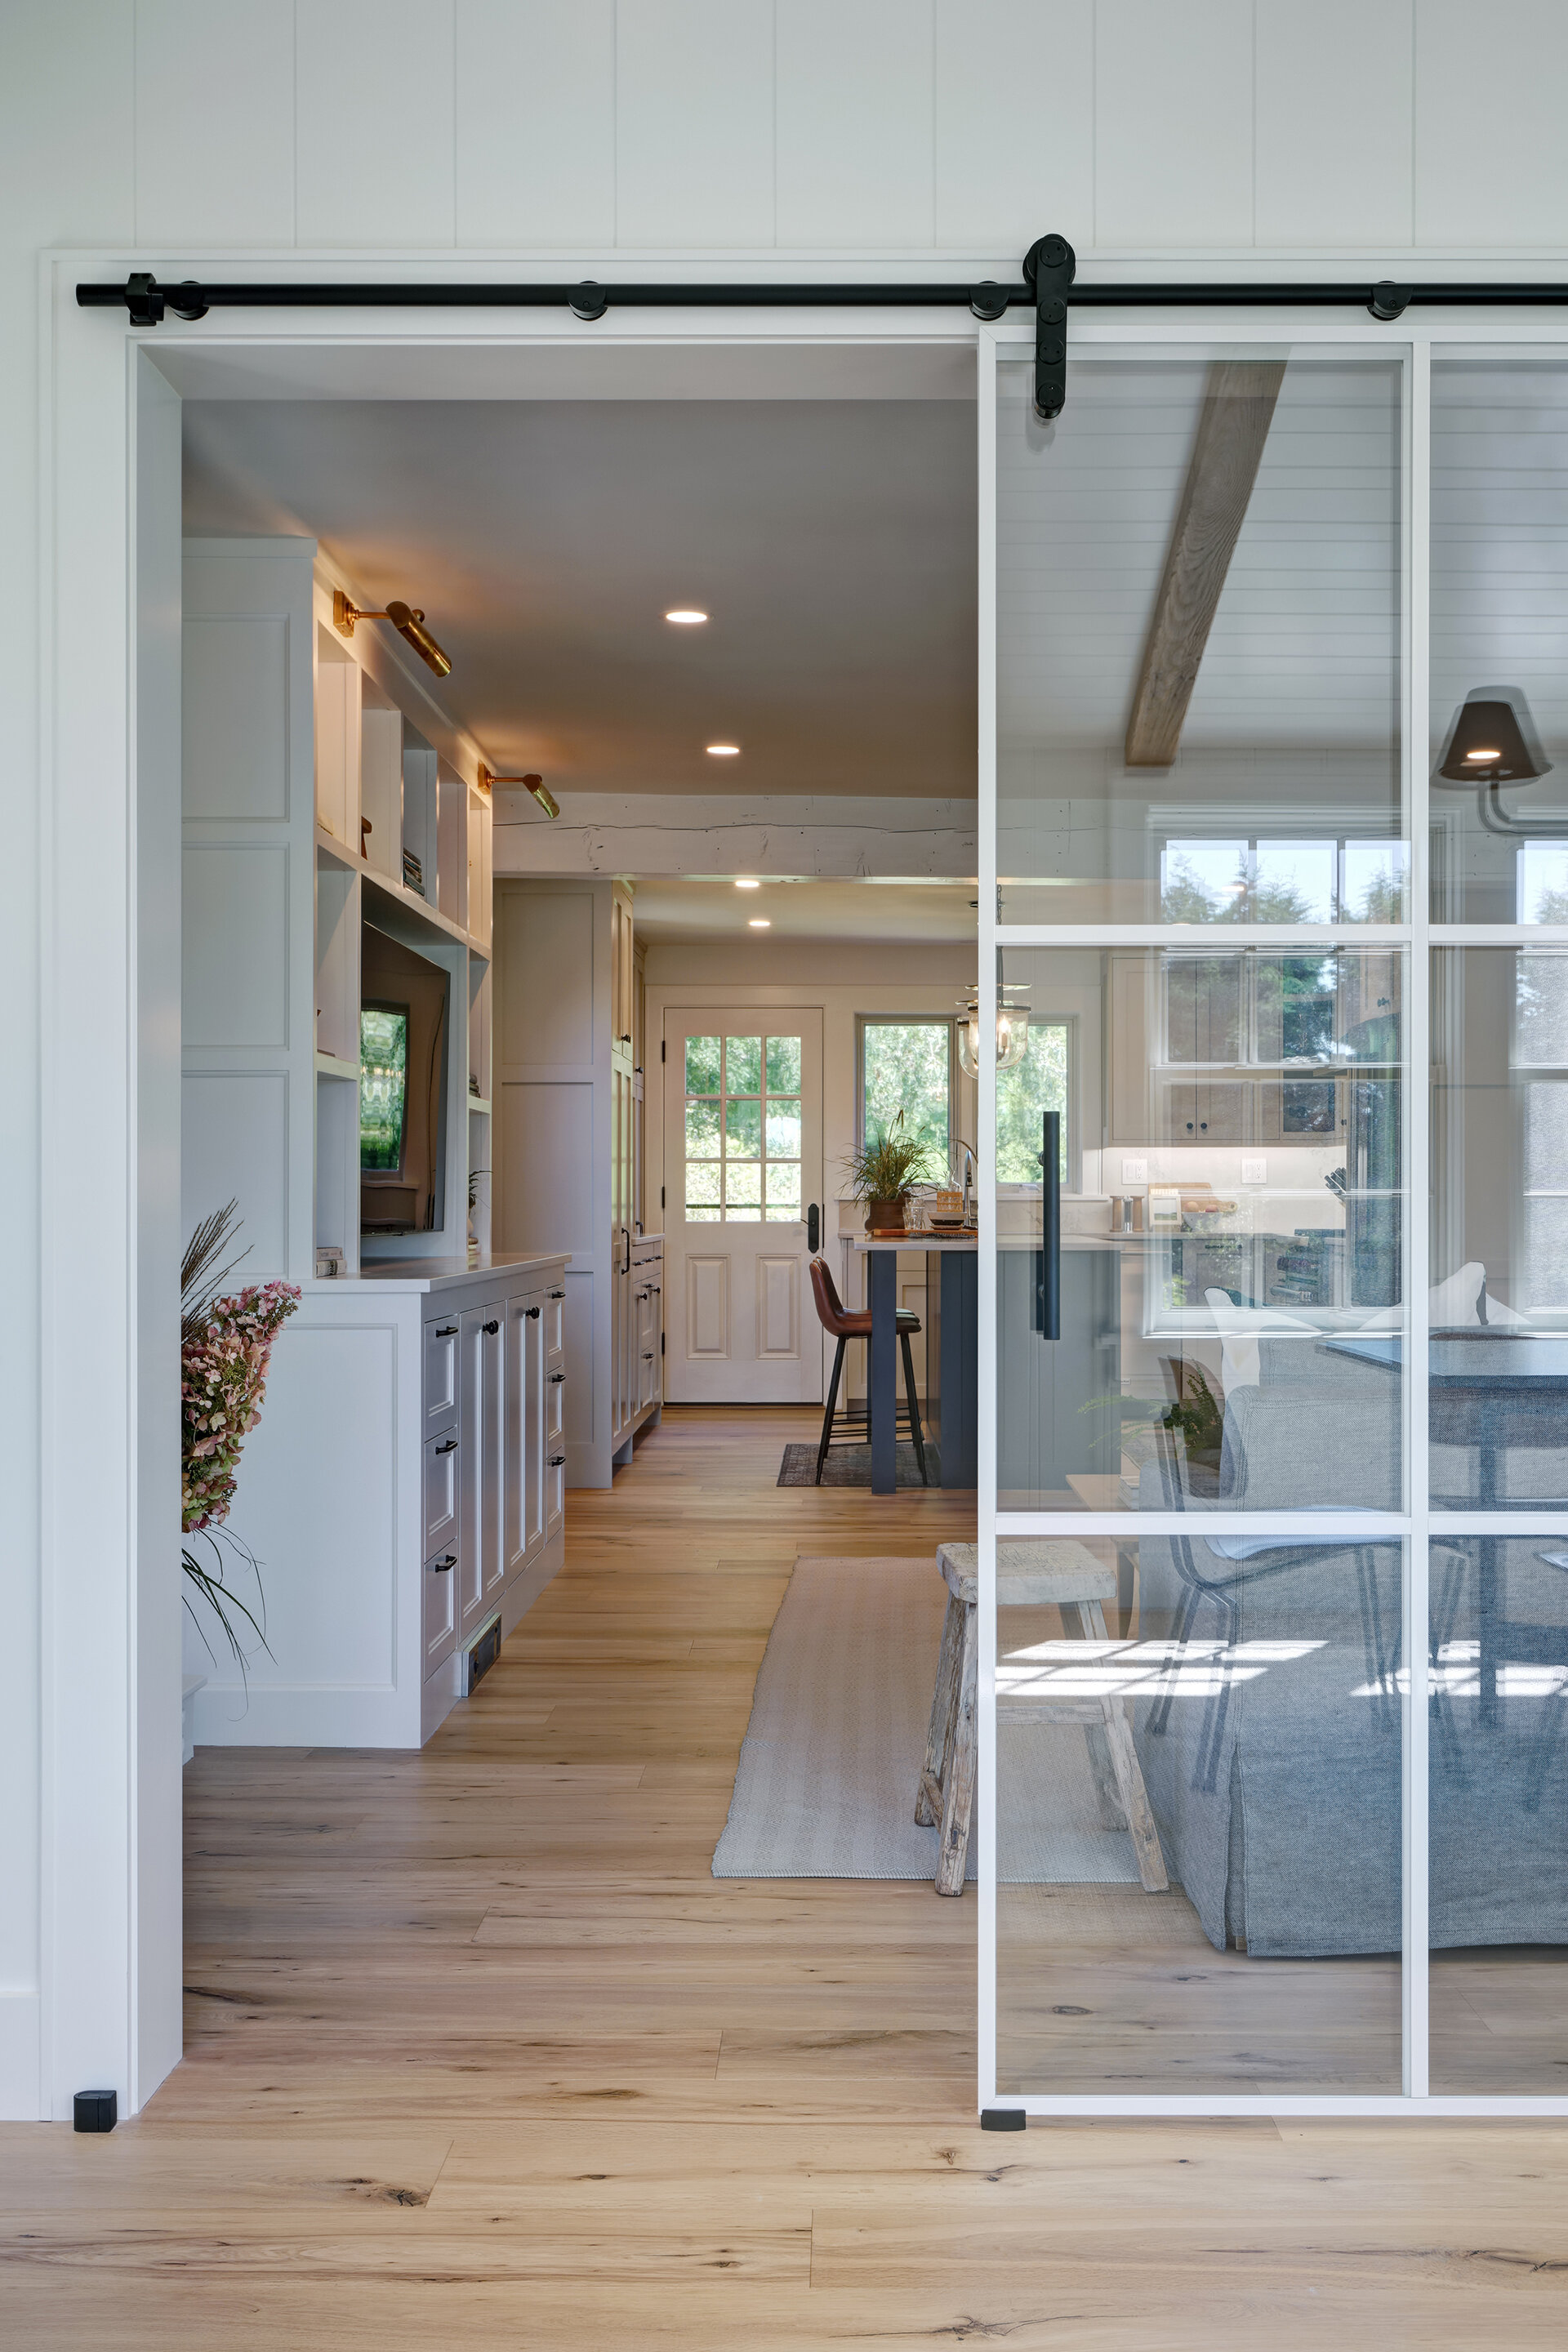
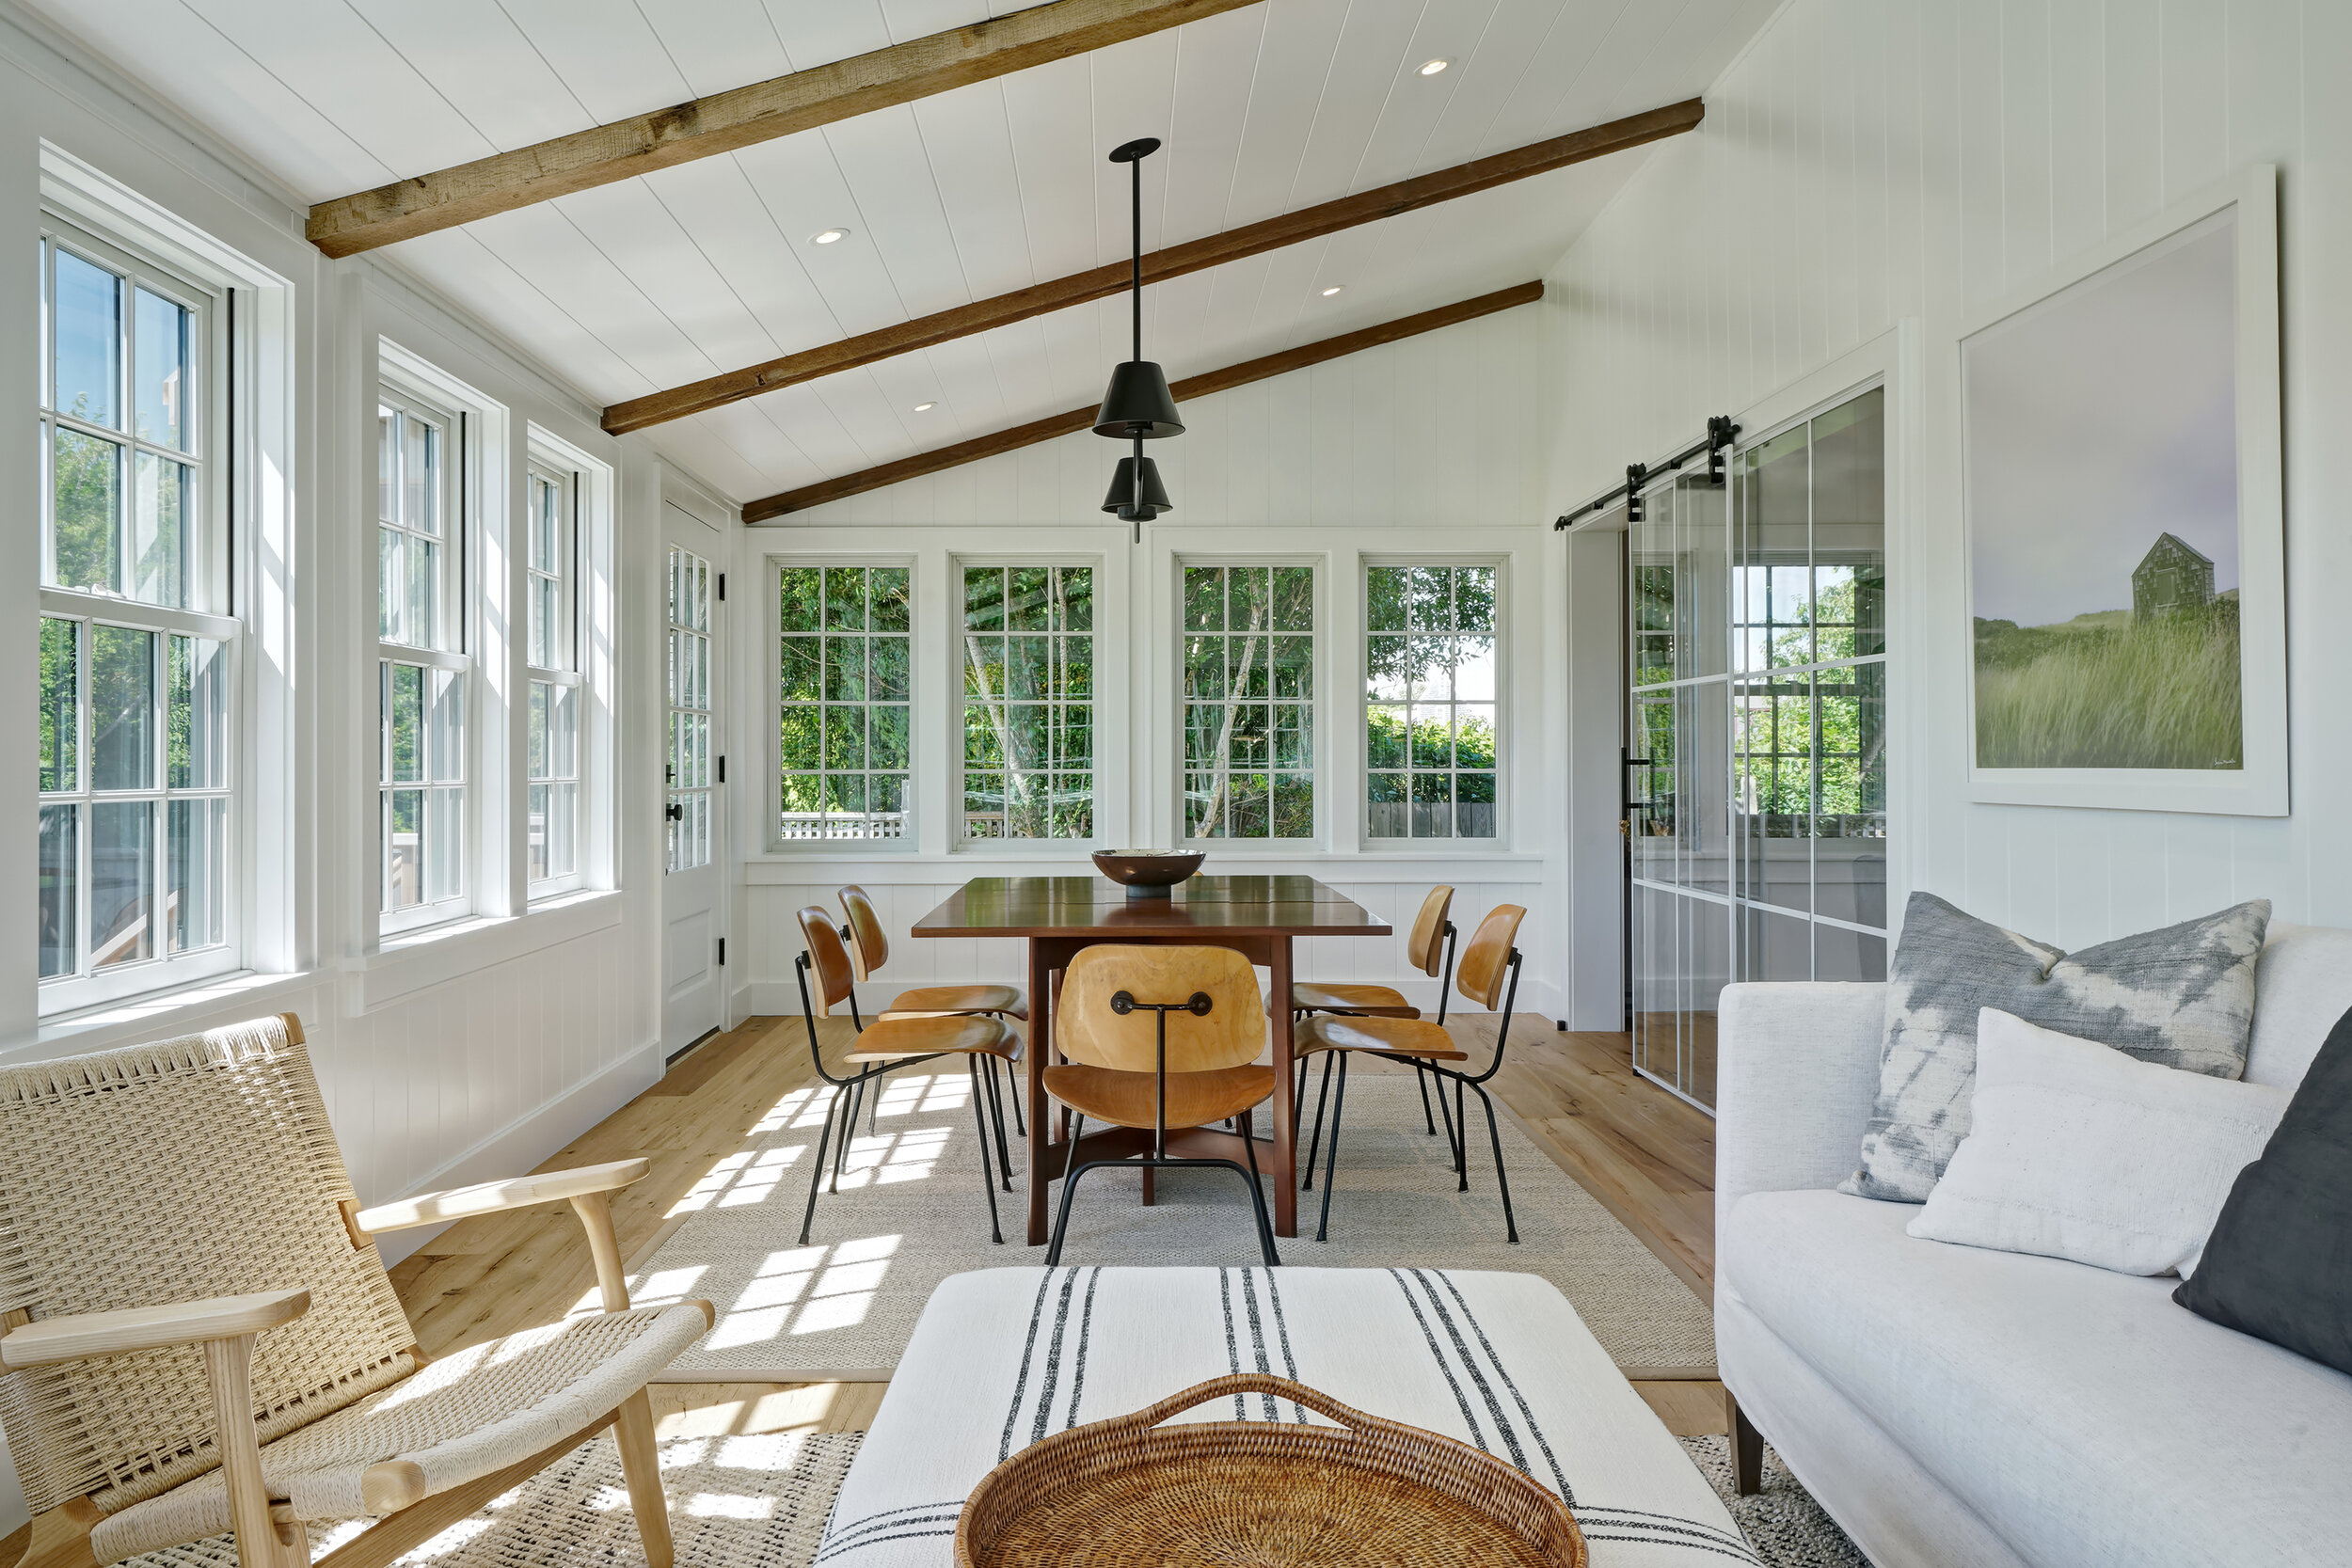
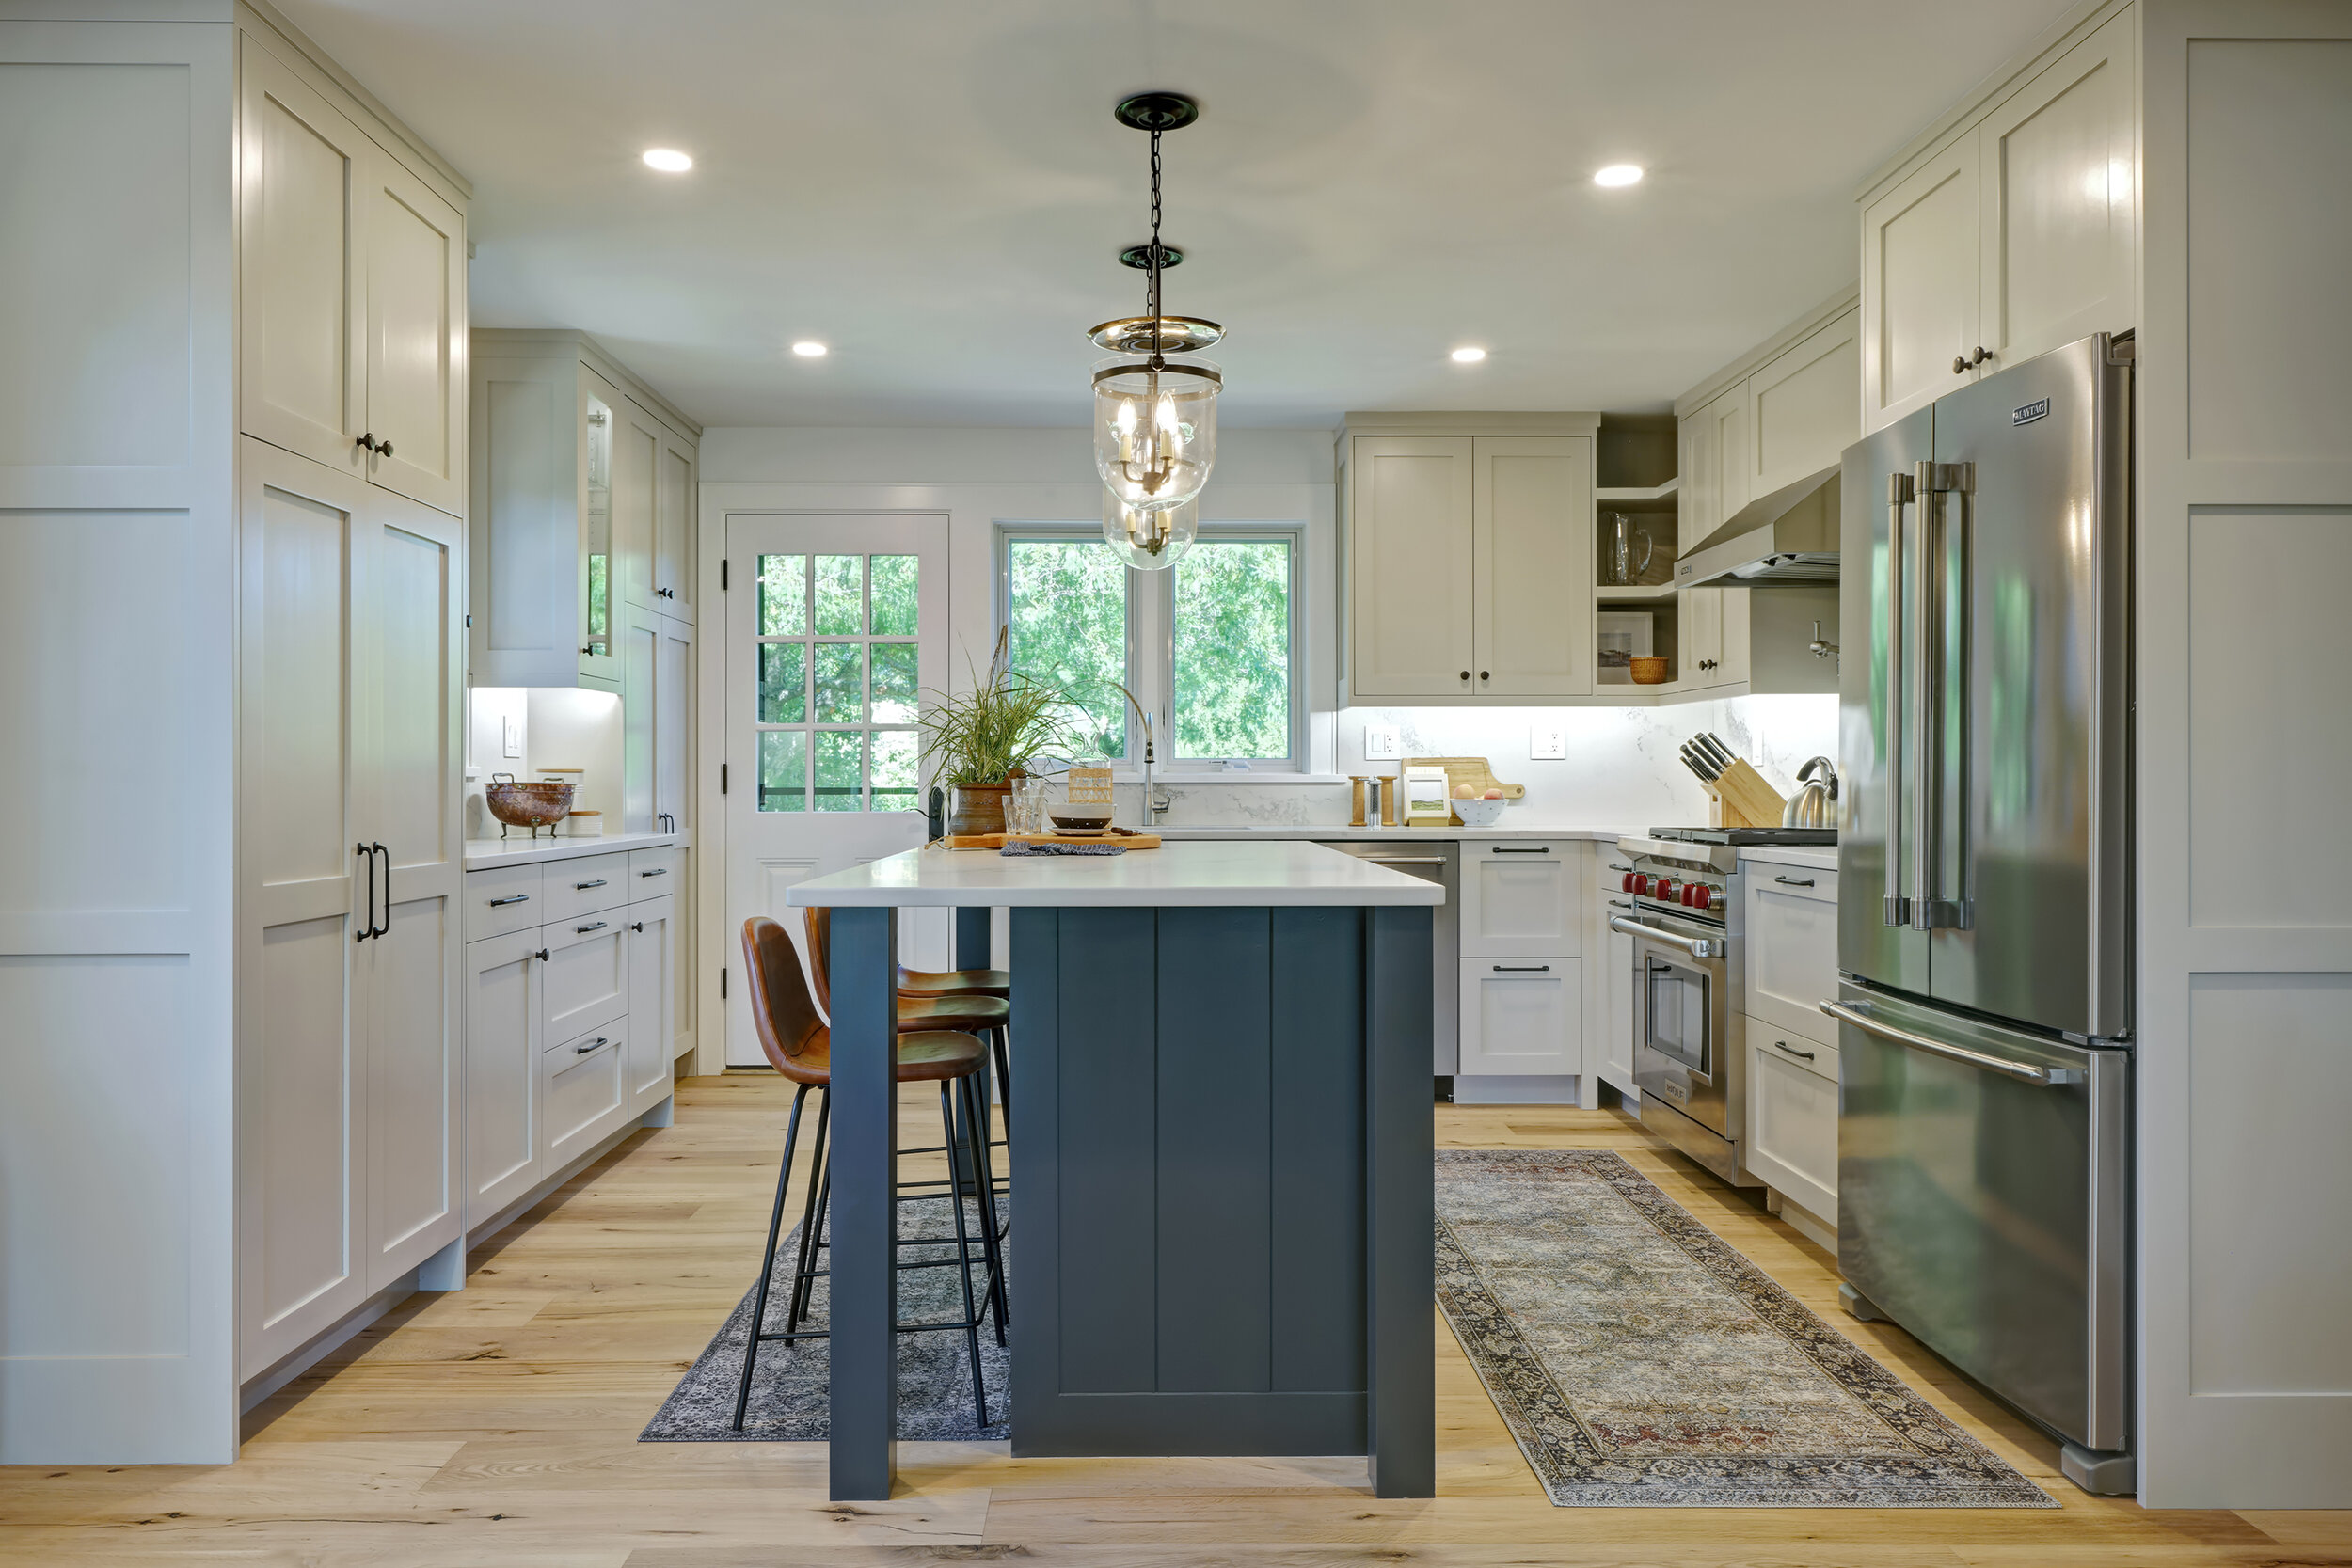
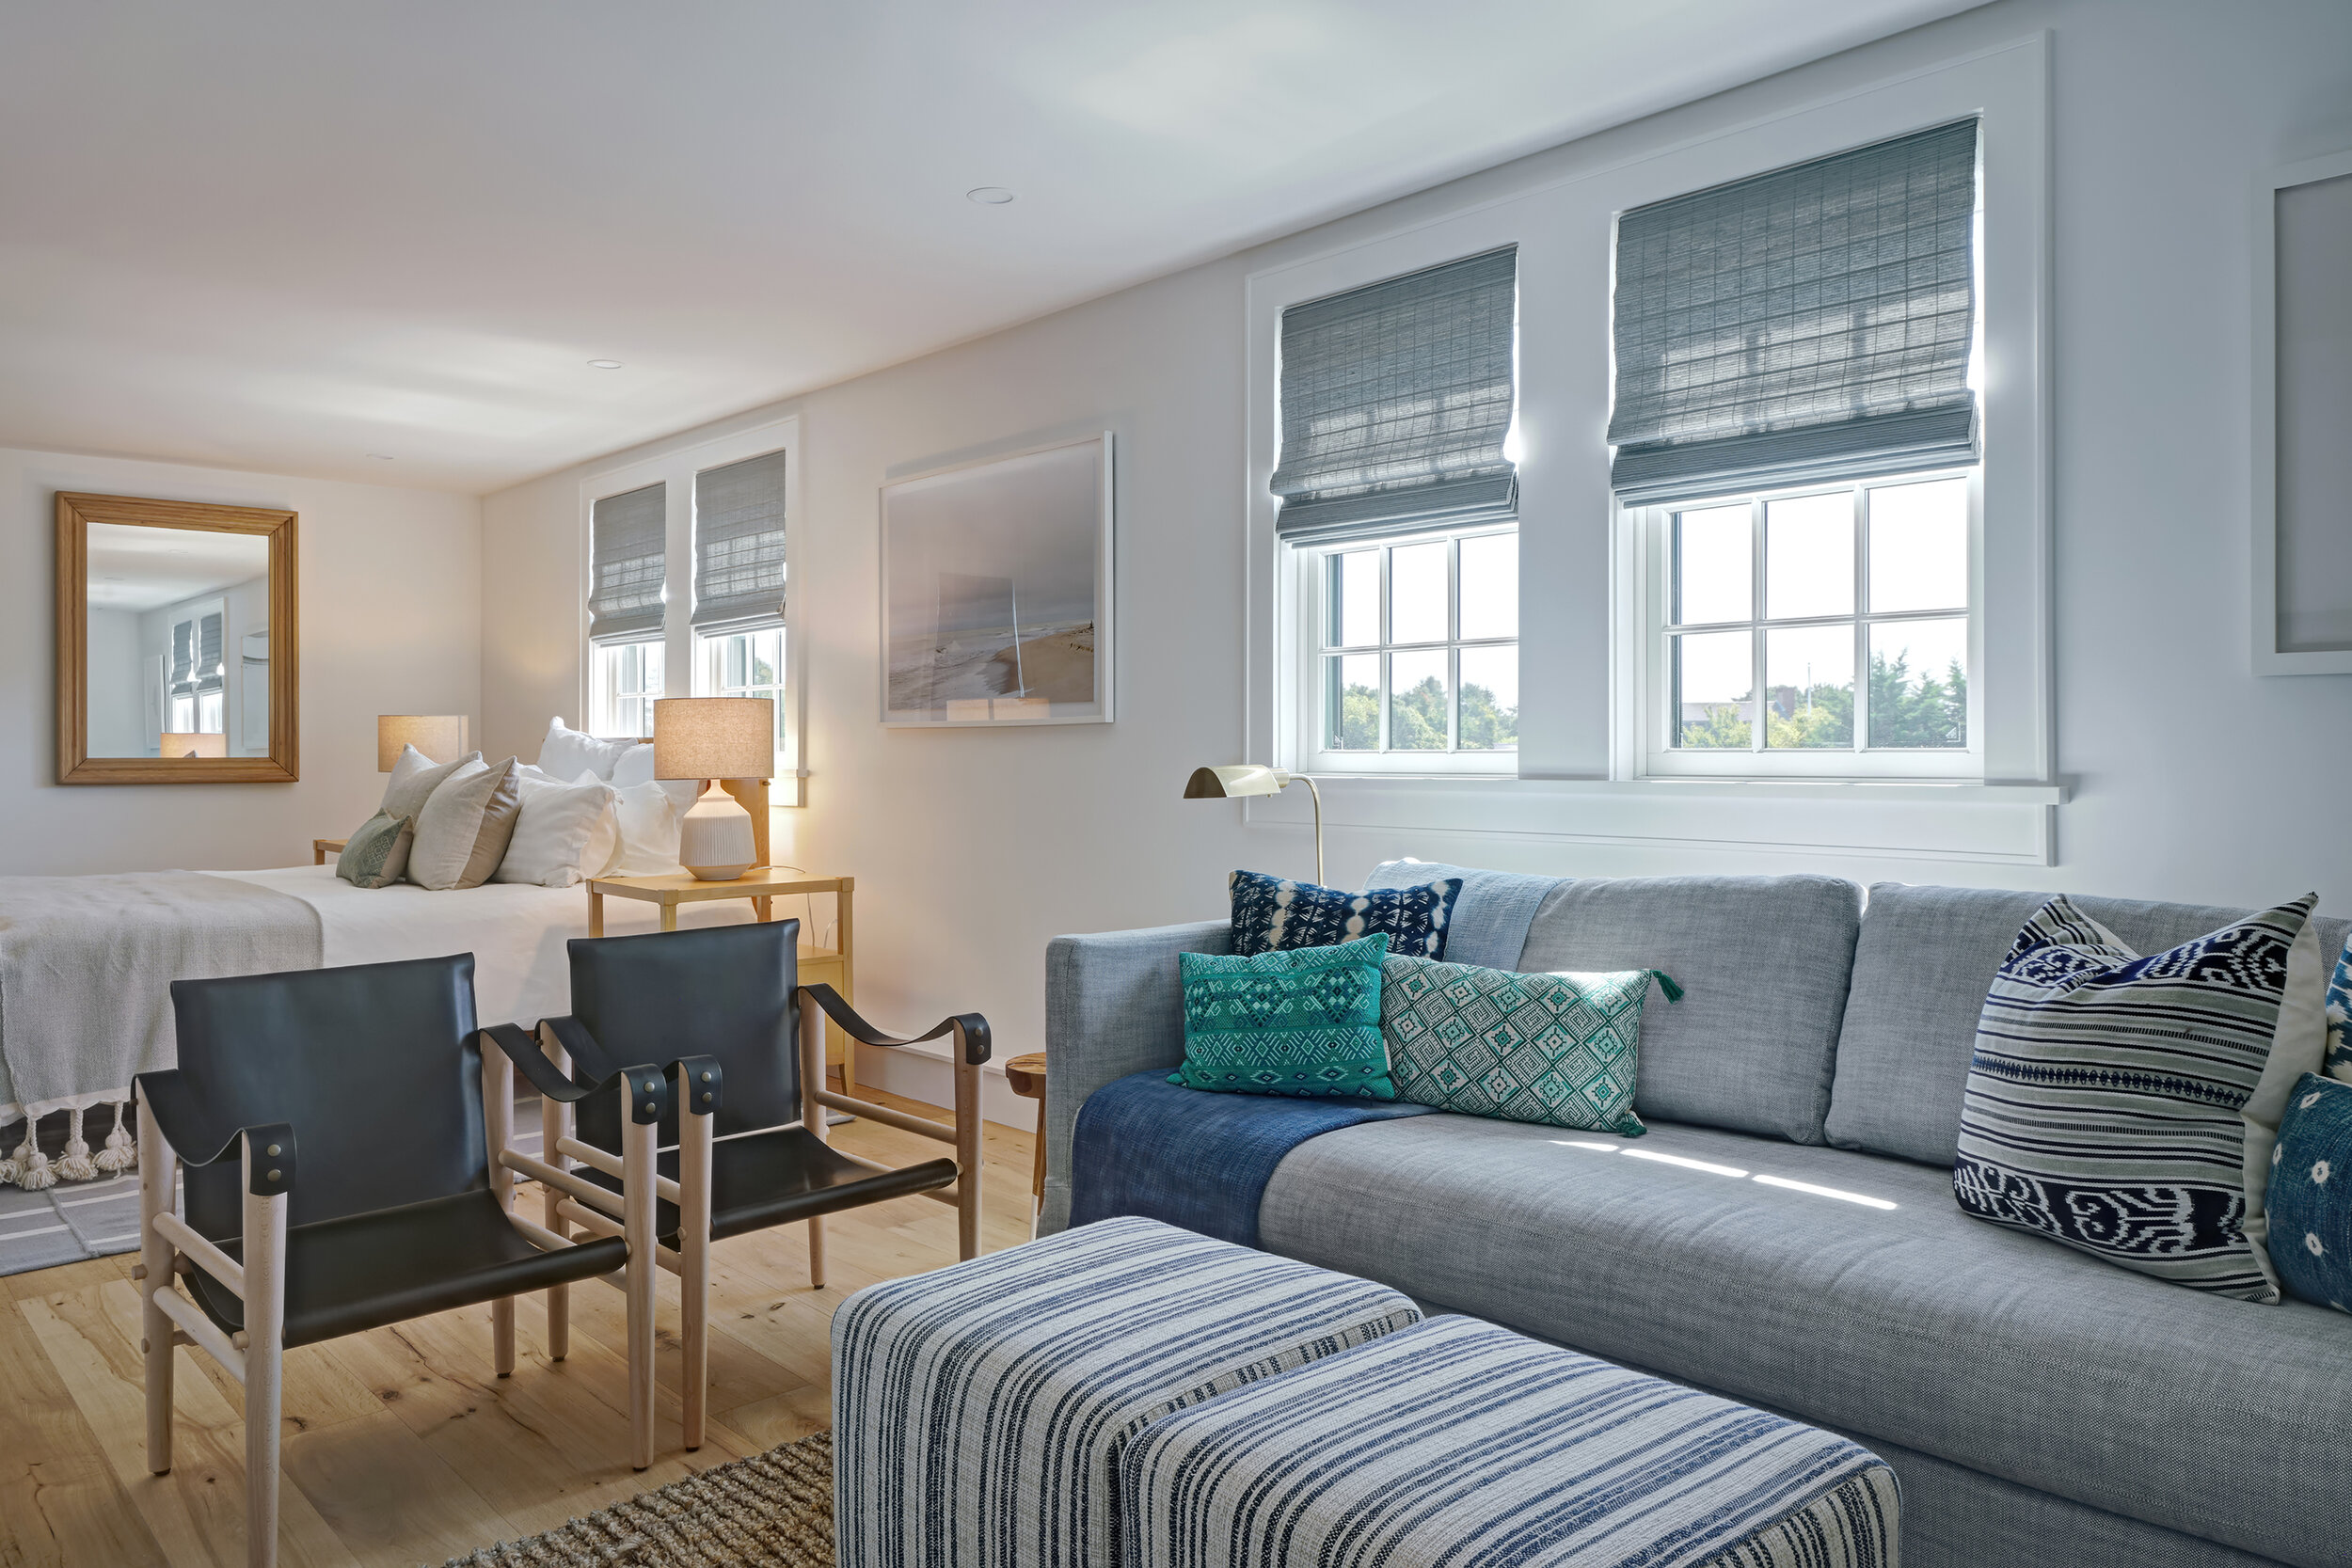
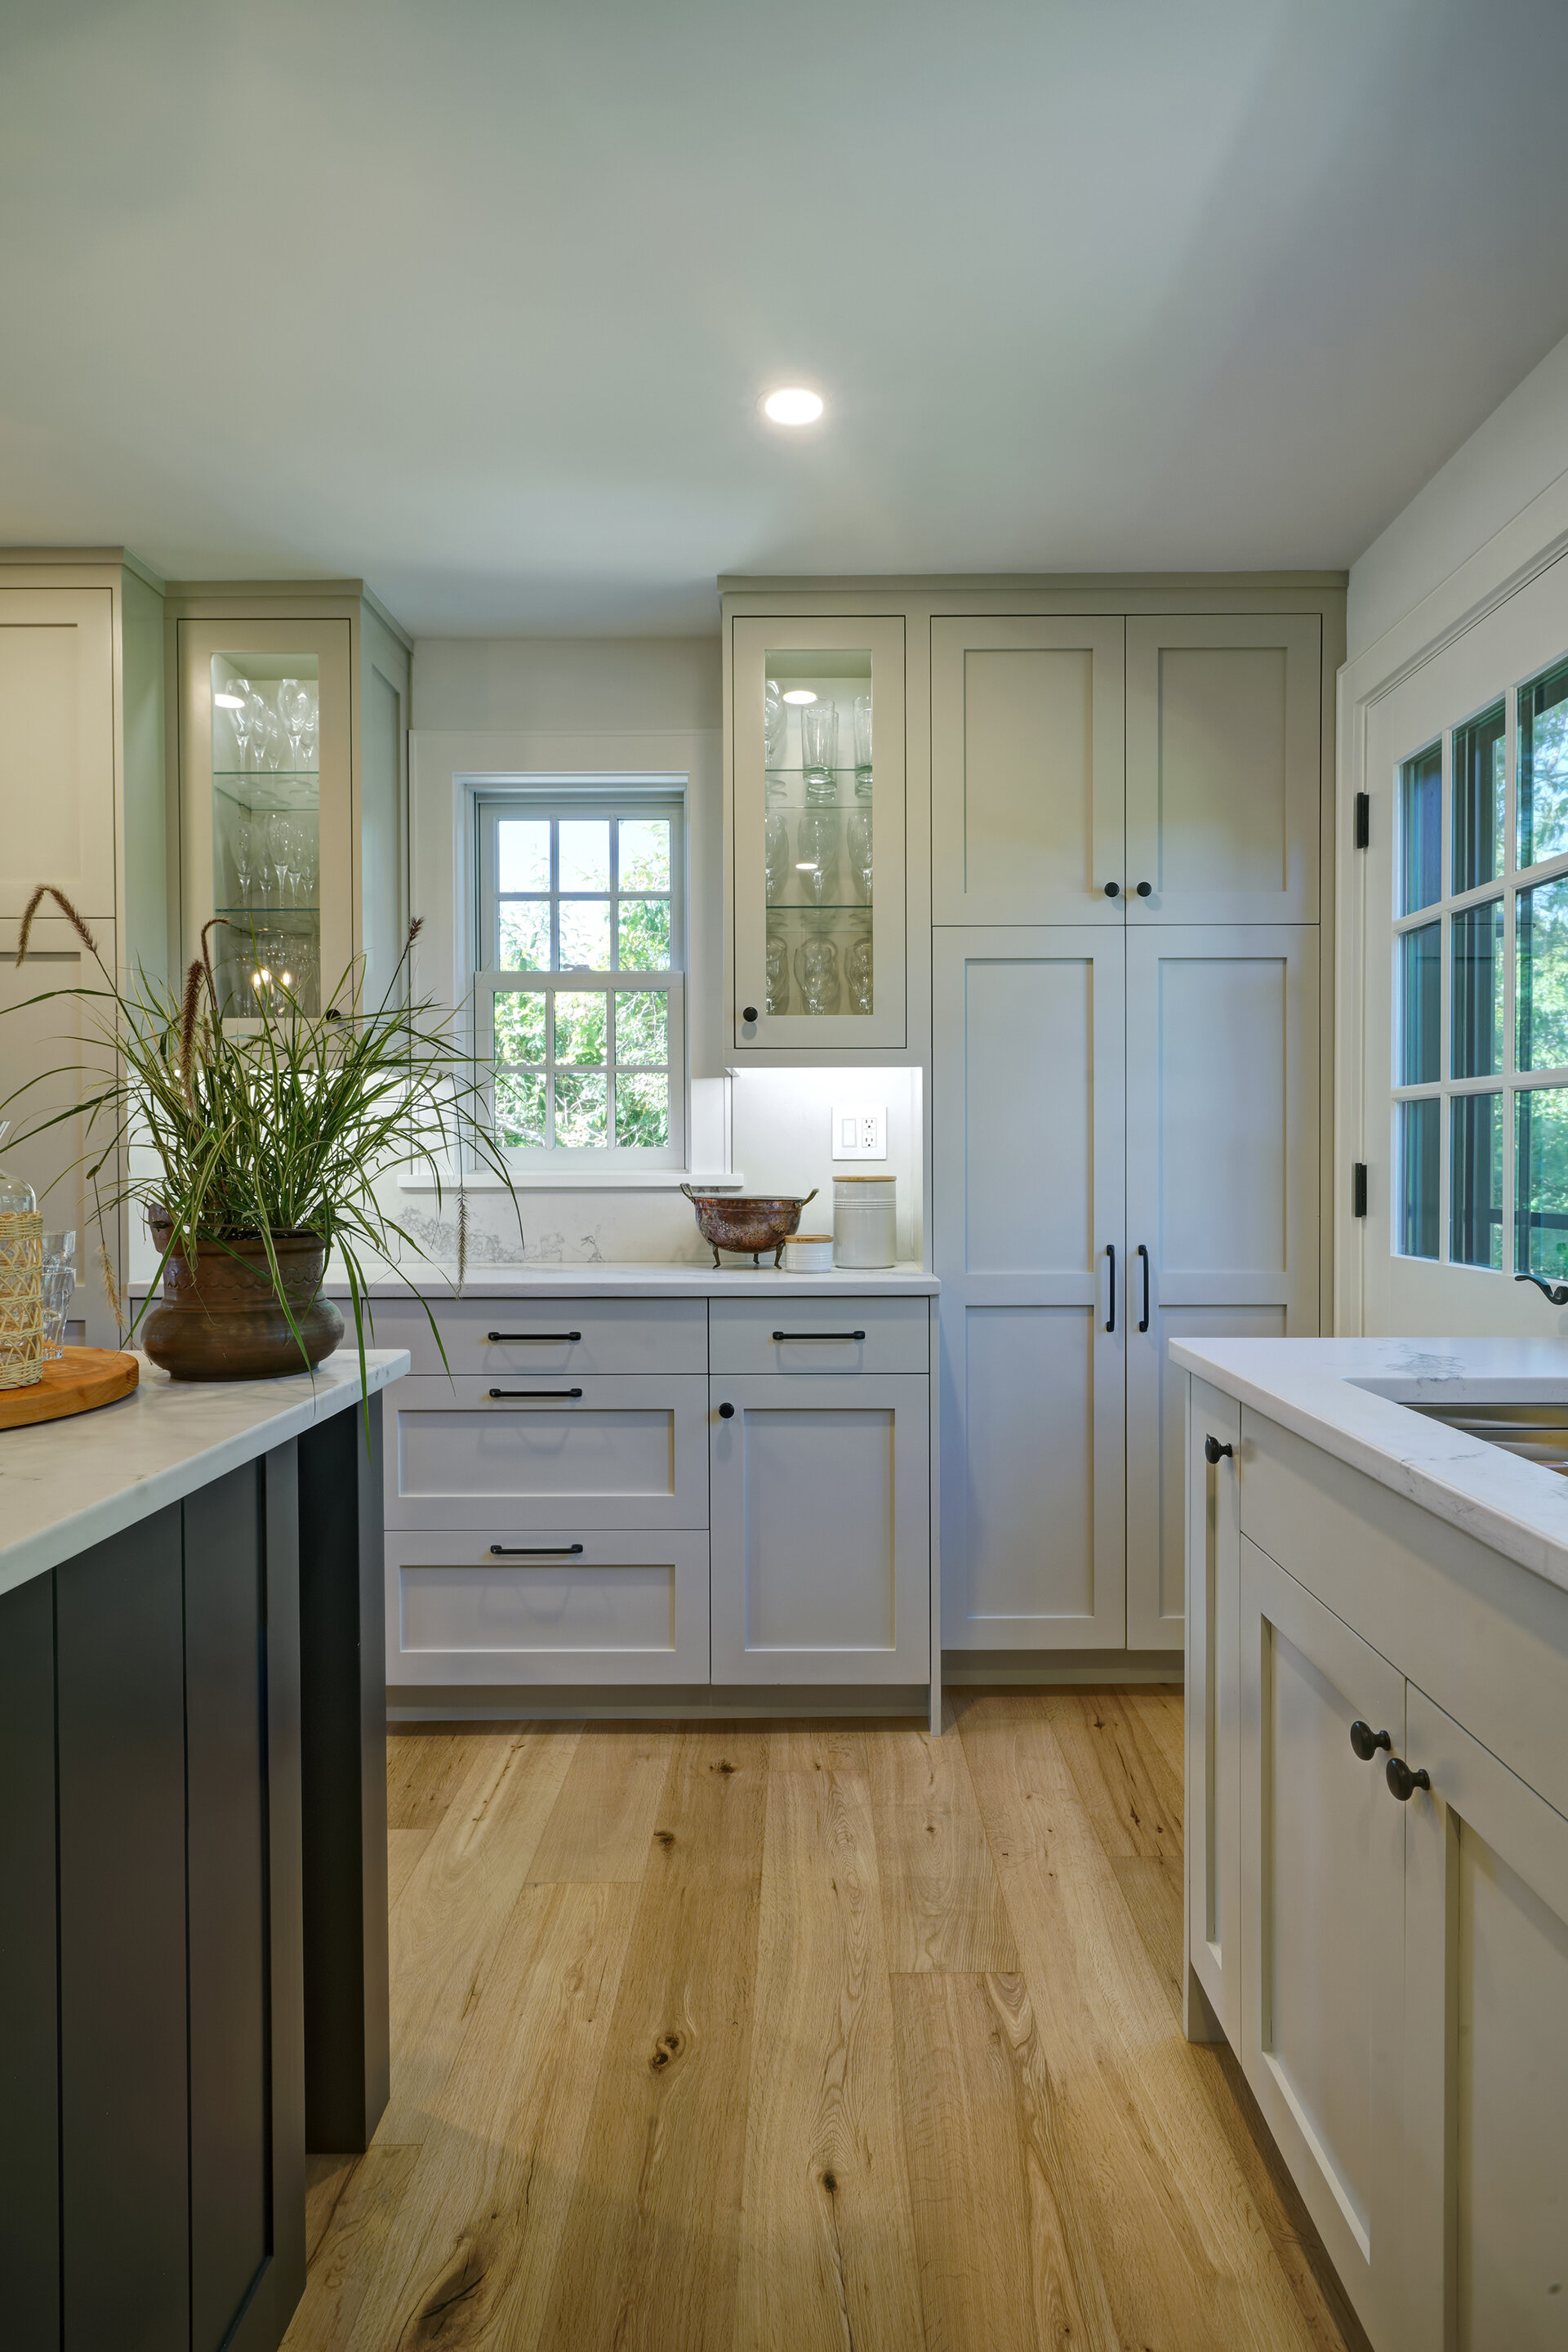
Without further delay – welcome to our home: 

(photos by Tom Olcott | courtesy of architect Emeritus | built by Julius Pasys


WELCOME TO OUR RENOVATION. PART FIVE.

“WE HAVE TO MOVE BACK HOME A MONTH EARLY” AND OTHER THINGS HOMEOWNERS SAY THAT MAKE CONTRACTORS SHUDDER.

PART FIVE.

Woof! Who else is still stuffed from Thanksgiving?! I hope you all had a special few days surrounded by your favorite people.

I took this opportunity (family in town) to ask my mom to help me clean my dreamy but impossible to clean Urban Electric smokebell pendants in our kitchen. To give you a mental image of what this entailed, there was a duvet cover covering our kitchen island, and Neil acted as a safety net. I’m not sure if I was more concerned about protecting the pendants, or our kitchen counters (read last week’s post for context).

Before buying anything breakable that will hang from high heights, I highly recommend you ask yourself, “How will I clean this?” You’ll thank me one day. Our electrician asked me this question after he finished hanging them.

We hosted Thanksgiving in our NEW DINING ROOM (with our framed “Grey Lady”), which was so great to finally be able to do. I only consumed one bottle of wine while kids played on/with/around our glass wall and sliding door. It survived, and so did I.

This feels like an appropriate segue because I left off last week with the install of the glass wall and sliding door, conceptualized by me, and designed and built by Simon from Surfside Glass and our builder, Julius Pasys, owner of LithCon Inc.

Sometime in May, I had to break the news to our builder that we had to move home about a month early; June instead of July. (The photo below is approximately what move in day looked like downstairs.) In hindsight, I should have delivered that news with a six-pack of beer.

The bad news was that the second floor had to be move in ready about four weeks early. The silver lining (for everyone else) was that Neil and I (and our old pup) could be relegated to the second floor while the first floor was finished.

Timing is everything for a renovation, and I especially saw that towards the end. Painters had to finish (upstairs) so everything could dry and the floor protective paper could be removed (omg the floors were soooo good when I finally got to see them). The shower tile had to be finished so we could actually shower. The post-construction crew needed to clean so the furniture could be delivered – and if you’re an inexperienced first time renovator like me, you maaaay do a couple of those final steps out of order. Lesson learned: cleaning before furniture delivery.

Living through a renovation for a month or so was like glamping. Outdoor shower? Check. Eating off of disposable dinnerware? Check. Look both ways to ensure no one is around before you pee? Double check.

A significant benefit of living through the last 4-6 weeks of a renovation (timeline is extending as we wait for our kitchen counters) is we had the shortest punch list in the history of punch lists.

As rooms were painted and built-ins completed (swoon, I can’t wait to share photos of these), up went towel hooks, mudroom cubby hardware, doorstops, and all of the other stuff I’ve heard you normally have to chase. And in an odd turn of events, our dog was in such sensory overload that she grew to be friendly at the age of 13 years old.

Unless I’ve missed something massive, next week will be the final reveal! Our architect, Matthew MacEachern of Emeritus, did a photo shoot at the house, and I’m so excited to share some of the photos with you.

Next post: The final reveal, and major thank yous.


WELCOME TO OUR RENOVATION. PART FOUR.

KITCHEN CABINETS, V-GROOVE, AND GLASS WALLS - OH MY!

PART FOUR.

With the white paint decision behind me (read about that rabbit hole here) – things really started to take shape in the house, specifically the kitchen and the addition.

The second half of May was all about the kitchen cabinets – install time!

I went into this project with little to no knowledge about renovations and kitchen designs, so I wasn’t sure if it would be our architect, Matthew MacEachern of Emeritus, doing the kitchen design for us, or someone who only does kitchens.

Turns out – in our case, it was neither. Our builder, Julius Pasys of LithCon Inc., designed our kitchen for us. As I mentioned in the first post in this series, I can’t believe how much work goes into a kitchen even before demolition.

Our architect had a vision for the kitchen as it related to the house as a whole; I had a vision for the kitchen, which I gallantly shared via chicken scratch drawings and Instagram screenshots; and Neil had a vision for our kitchen (it needed to work, with minimal plumbing changes because $$). Ultimately, our builder was in charge of executing the design – so I think it was very helpful to have him so involved with the design portion.

We used a company called Barker Cabinets, based in Portland, Oregon. Their cabinets are fully-customizable and all components are made in America. They arrive in pieces and are assembled on site. (Though you have the option to have them pre-finished, we went with unfinished cabinets and had them painted on Nantucket).

One day in May, I stopped in to check things out (I’m still unsure if my surprise visits were welcome, or annoying) and I walked into music playing, excellent singing, and the bones of our kitchen!

Because there had been Good Will Hunting sketches in lieu of a CAD file, this was the first time I had seen the kitchen in 3D and it looked so gooooood.

Then came the kitchen island. I unequivocally wanted legs on the island and at least three chairs. During the chicken scratch / Instagram screen shot phase, I should have stressed just how much I wanted legs on the kitchen island, because we probably could have made the entire island a little bit bigger at that time. The problem was, at this stage, and at its current size – it wouldn’t fit three chairs comfortably if we added two legs.

I’ve decided a lot of the cool designs you see out there are born out of necessity (and yes, I just called my kitchen island design cool).  

After a lot of back and forth, we added a third leg to the island, creating a larger surface area for the countertop. This meant one of the original legs could come out a bit further, so that three chairs could fit comfortably between the original, two legs. I understand this paragraph makes NO sense. Please see photo below.

My advice about seemingly minor design details (a/k/a kitchen island legs)? If they are important to you, make sure to highlight them in the very beginning because no one is a mind reader. In the end, I like that my island is a little quirky and that it represents out-of-the-box thinking - and I got my legs.

Once everything was assembled, and I decided on Statuario Maximus (honed) by Caesarstone with a full slab backslash, it was time for the counters to be templated. The counters themselves are beautiful, and I’m happy with my decision to use a honed finish. Honed counters are a little “needier” than regular quartz counters in terms of maintenance, but they have an old-world look to them that I love.

If you’ve read between the lines of my countertop zingers, or hung in there with me in real life while I compared Steamship ferry waitlist reports to ETA texts from the countertop guy, you know that this was the only part of the renovation that wasn’t fun. During the approximate six-week delay, thousands spent on takeout, and 10 lbs gained from eating takeout for three meals a day every day, I learned that Neil has the patience of a saint. So this is basically a love story. And I should probably pivot and write a take-out guide… 

But, like I said: if you don’t have one hiccup, did you even really renovate?

Here’s one sneak peek of the finished kitchen. (Photo credit Tom Olcott, courtesy of Emeritus.) And I almost forgot: The cabinets are Revere Pewter by Benjamin Moore (lightened by 20%) and the island is Wrought Iron by Benjamin Moore. (Major thanks to All Sorts Of for sharing this color combo!)

Now, on the other side of the house – gorgeous things were happening. Vertical v-groove was installed along the walls of the addition – and I decided which print I was going to hang in that room. The v-groove also went on our ceiling, as well as beautiful oak beams from East Wood Trading Company – and, one of my favorite details in the entire house – and one I knew I wanted from the beginning – was installed: the glass wall and sliding glass door. This piece, separating our living room from our new dining room, was the brainchild of our builder, Julius Pasys, and Simon from Surfside Glass (and the engineer at Emeritus to ensure the house would stay up!)

I’m originally from New York City, so this is a little bit of NYC in Nantucket. Progress shots below. More photos to follow in the final reveal.